QRide Manual
How to Use the QRide Mobile App
A step-by-step guide for students and parents/guardians — including login, destinations, scanning QR, archives, SOS, ratings, and notifications.
Quick Steps
Tip: Click any screenshot to zoom.
1
Download the QRide App
Step 1Install QRide using the official download button.
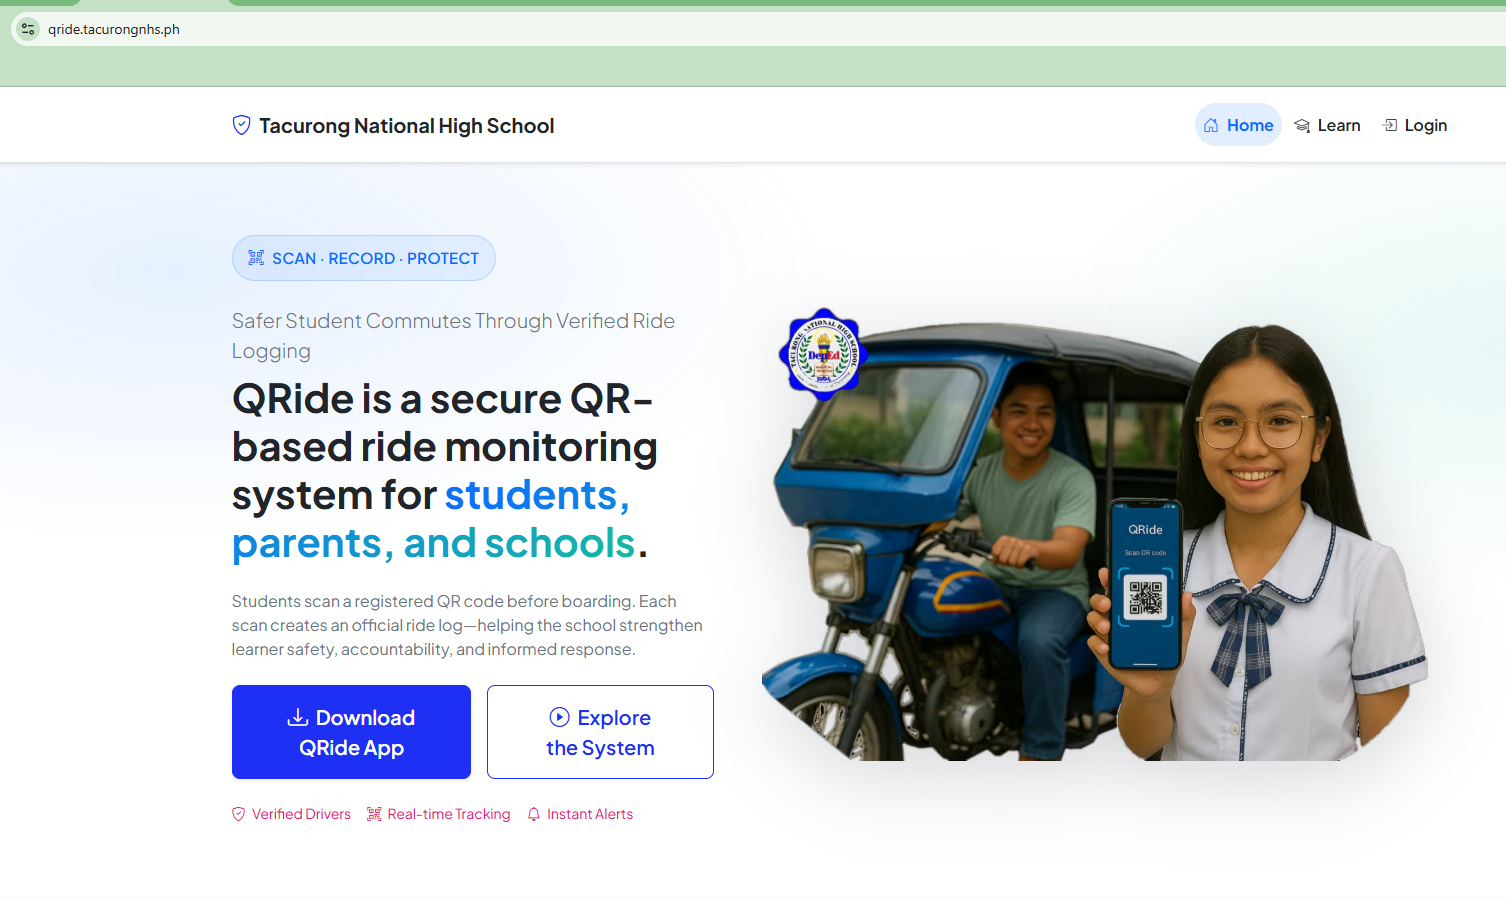
Download QRide App button on the QRide website.
Instructions
- Open the QRide website on your phone or computer.
- Click the Download QRide App button.
- Install the app (allow installation if prompted).
Helpful Tip
If Android blocks installation, enable “Install unknown apps” for your browser/file manager, then try again.
2
Login using Student LRN
Step 2Students sign in using Student LRN and Password.
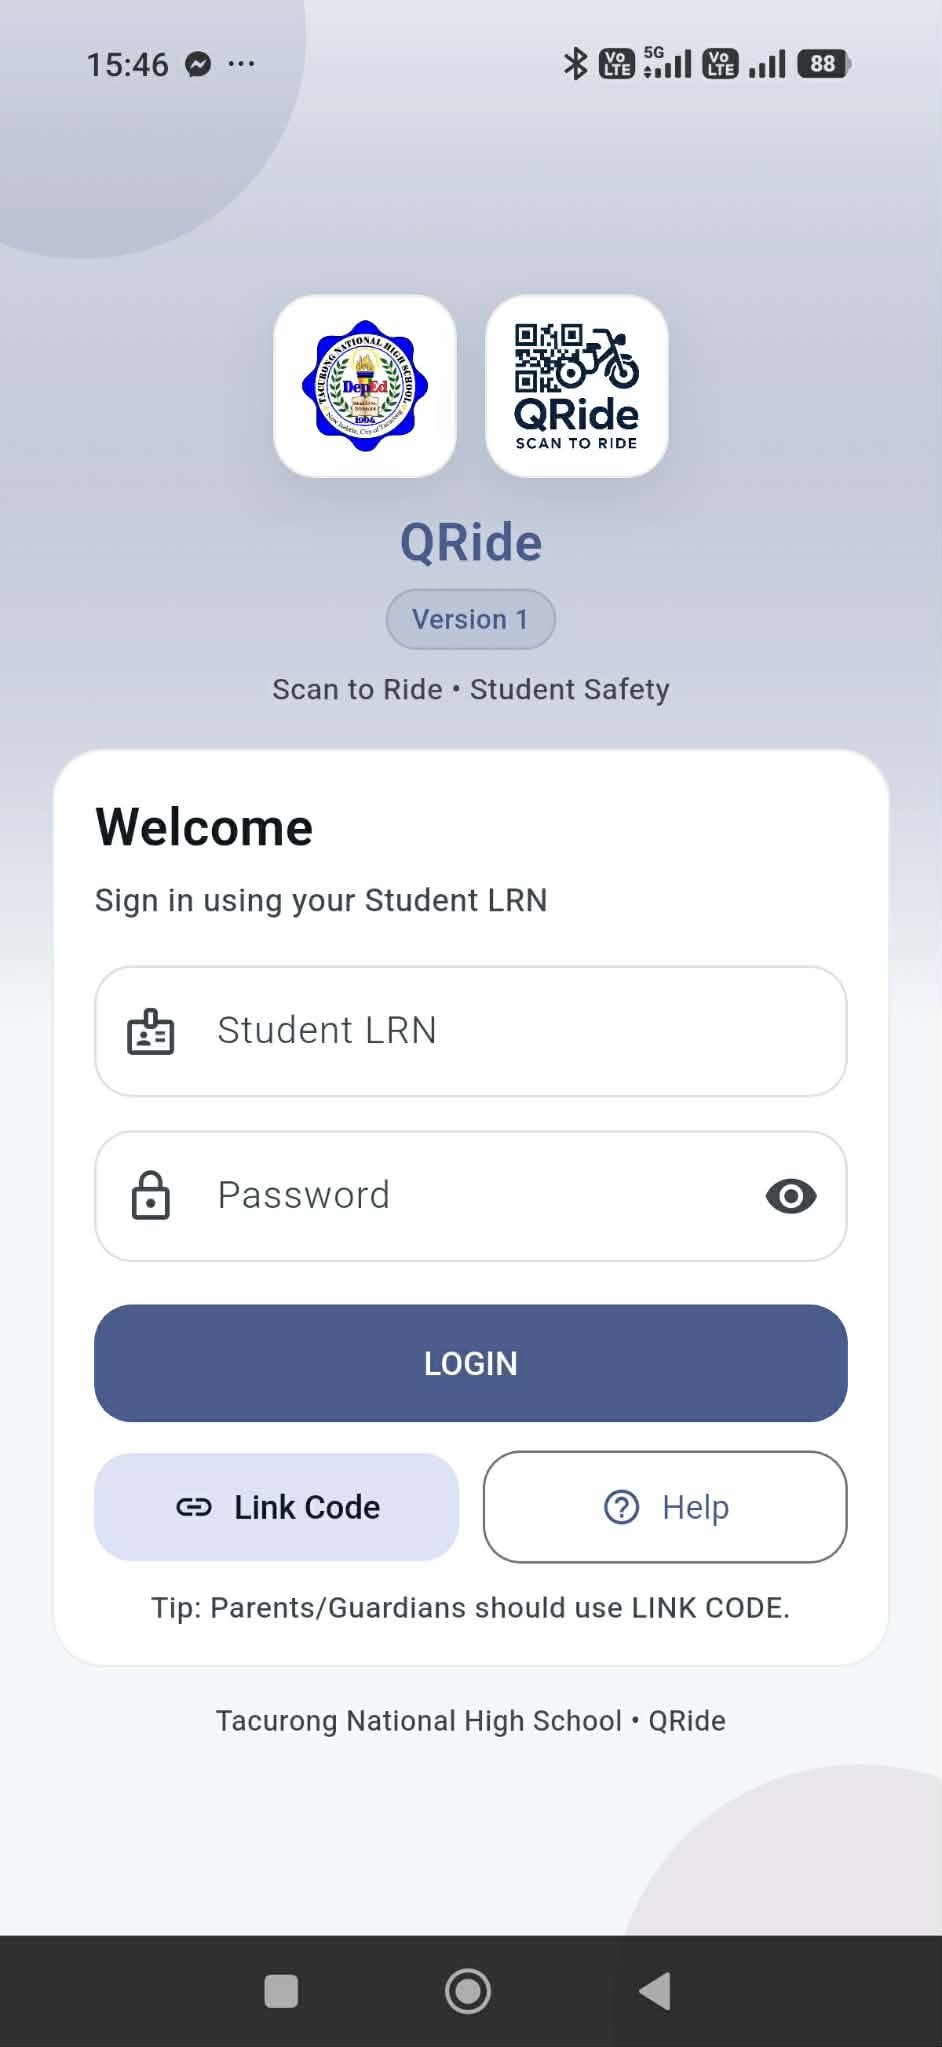
Login screen with Student LRN, Password, and Login button.
Instructions
- Enter your Student LRN.
- Enter your Password.
- Tap LOGIN.
- Use the eye icon to show/hide password if needed.
Helpful Tip
Parents/Guardians should use Link Code (see steps below).
3
Home Screen Overview
Step 3Main dashboard for destinations, scanning, SOS, and archive.
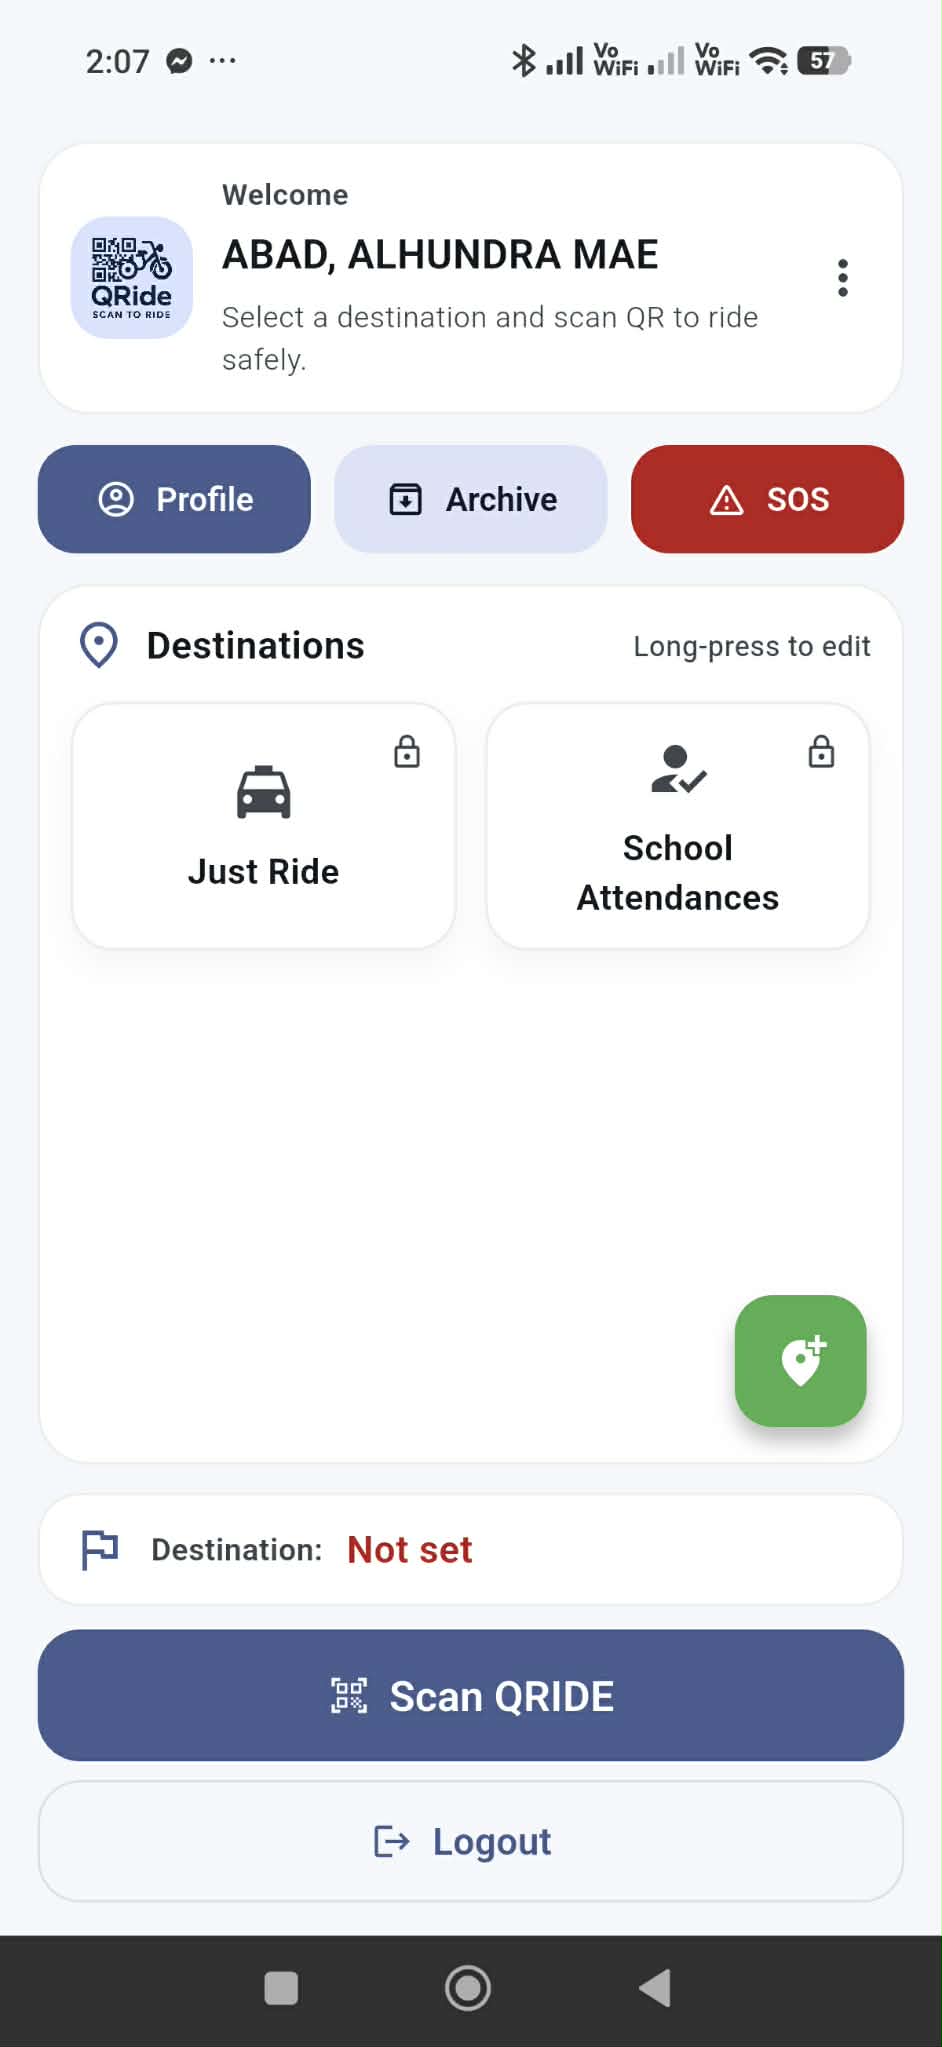
Home screen with Profile, Archive, SOS, Destinations, and Scan QRIDE button.
Instructions
- Tap Profile to view your account details.
- Tap Archive to view archived/offline ride logs.
- Tap SOS for emergency alert.
- Choose a Destination before scanning.
- Tap Scan QRIDE to scan the driver QR code.
Helpful Tip
Default destinations Just Ride and School Attendances are locked and cannot be edited/deleted.
4
Add a Custom Destination
Step 4Create destinations like “Fitmart”, “Balay”, etc.
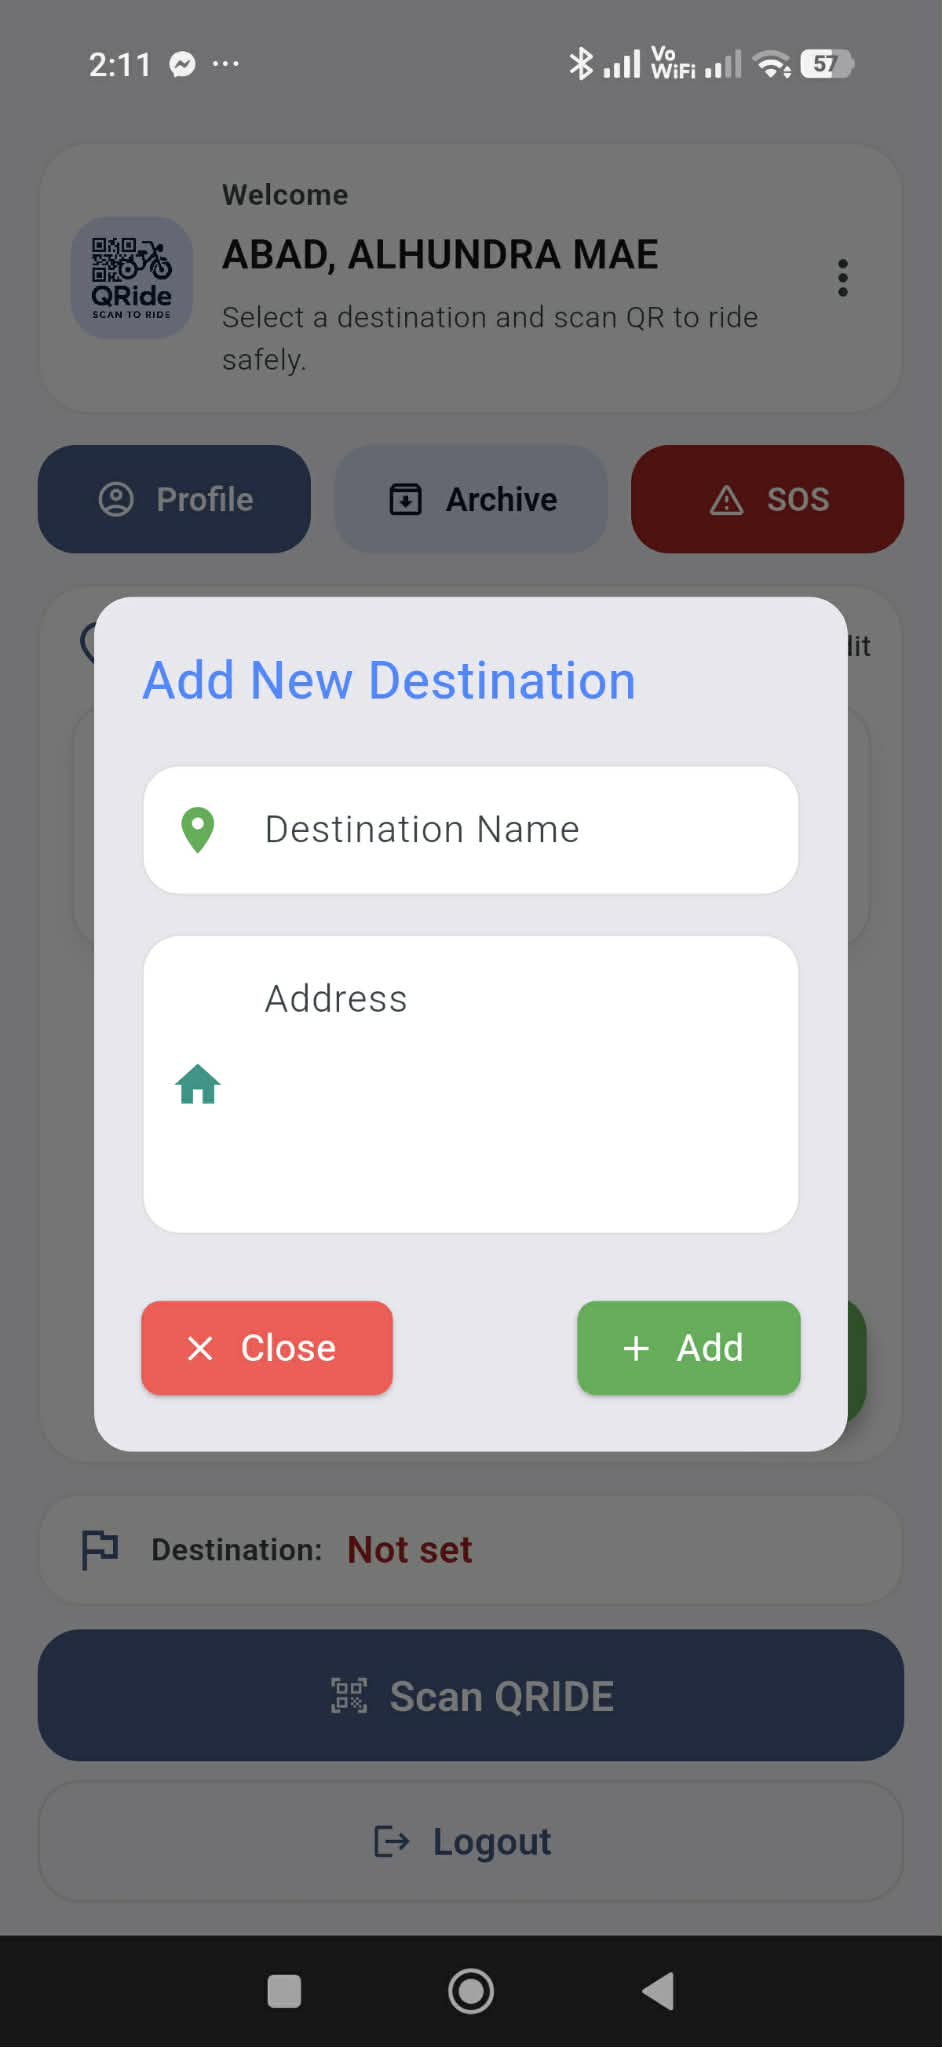
Add new destination dialog.
Instructions
- On Home screen, tap the green + floating button.
- Enter Destination Name.
- Enter Destination Address (optional but recommended).
- Tap Add to save.
Helpful Tip
After saving, your destination will appear in the Destinations list.
5
Update / Add Coordinates / Delete Destination
Step 5Long-press a destination to manage it.

Destination options: Update, Add Coordinates, Delete.
Instructions
- Long-press the destination card you created.
- Select Update Destination to edit info.
- Select Add Google Map Coordinates to pin location (optional).
- Select Delete Destination to remove it.
Helpful Tip
Default/locked destinations cannot be managed via long-press.
6
Update Destination Details
Step 6Edit destination name/address when needed.
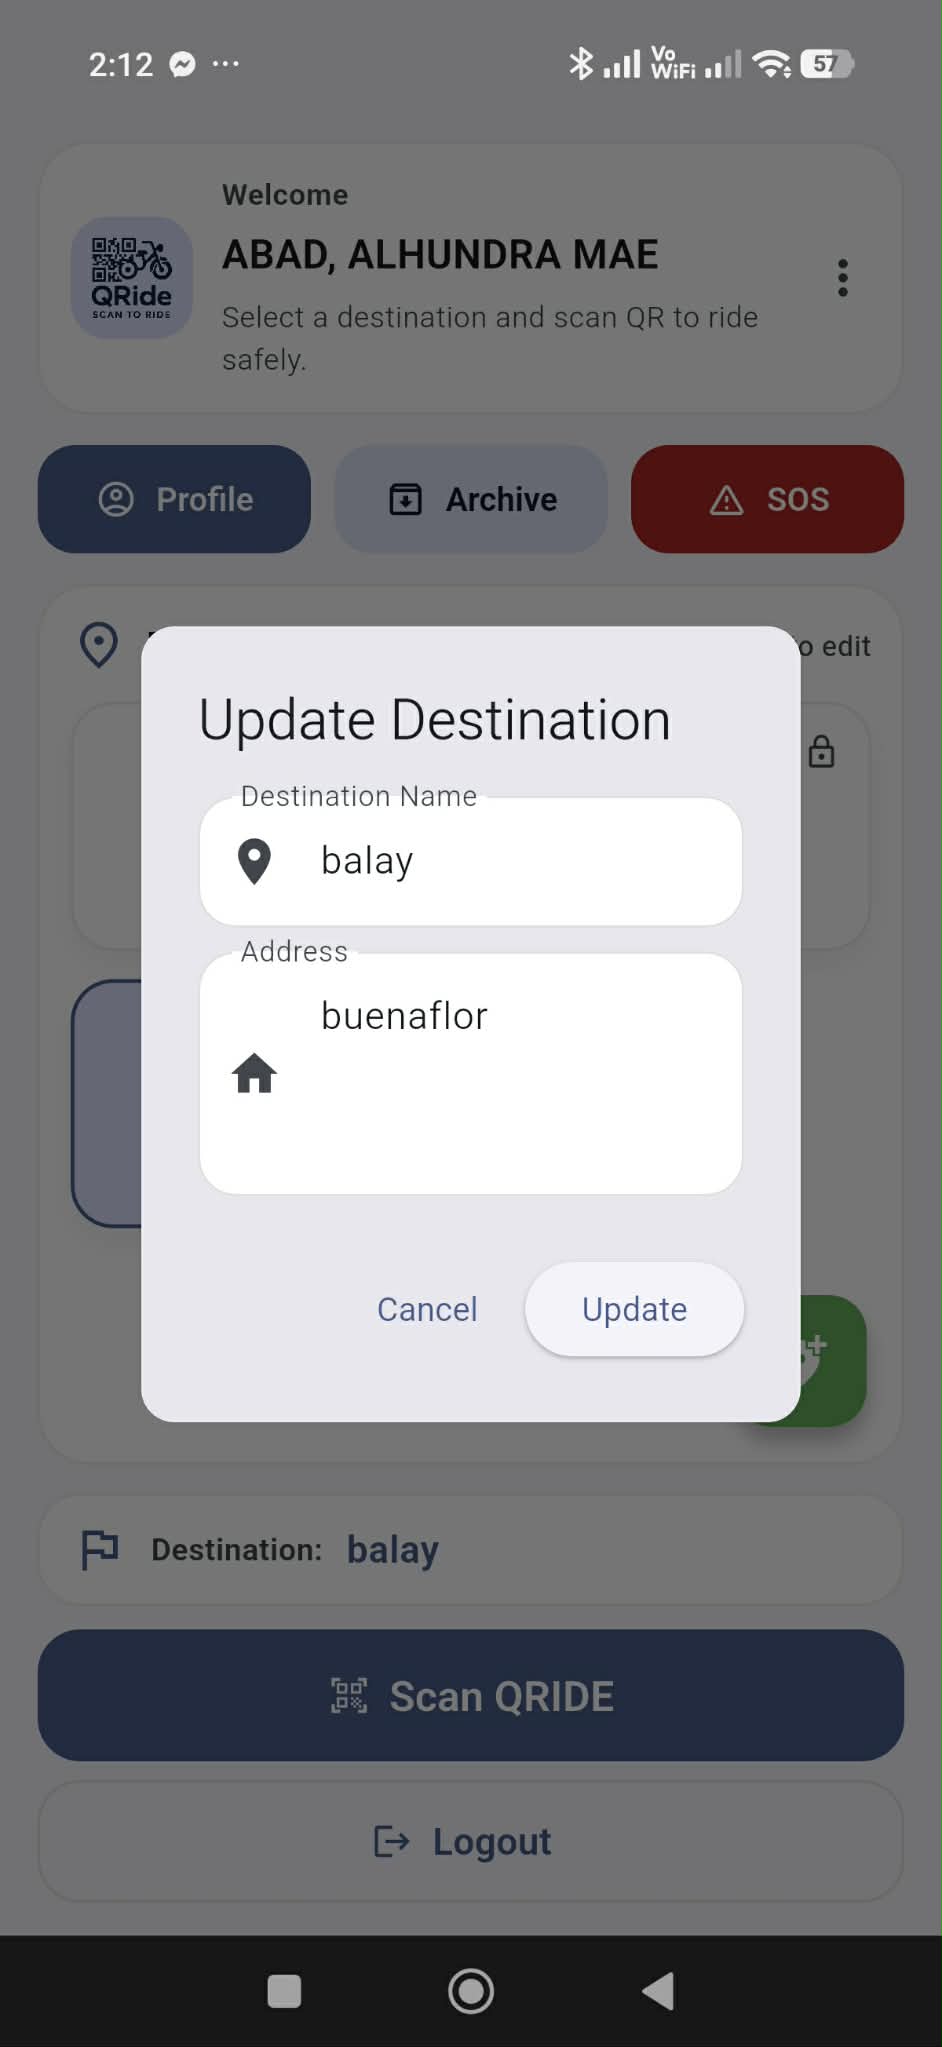
Update destination dialog (edit name/address).
Instructions
- Long-press destination → tap Update Destination.
- Modify destination name and/or address.
- Tap Update to save changes.
Helpful Tip
Use simple names (e.g., “Fitmart”, “Home”, “School Gate”).
7
Delete a Destination
Step 7Remove destinations that are no longer used.
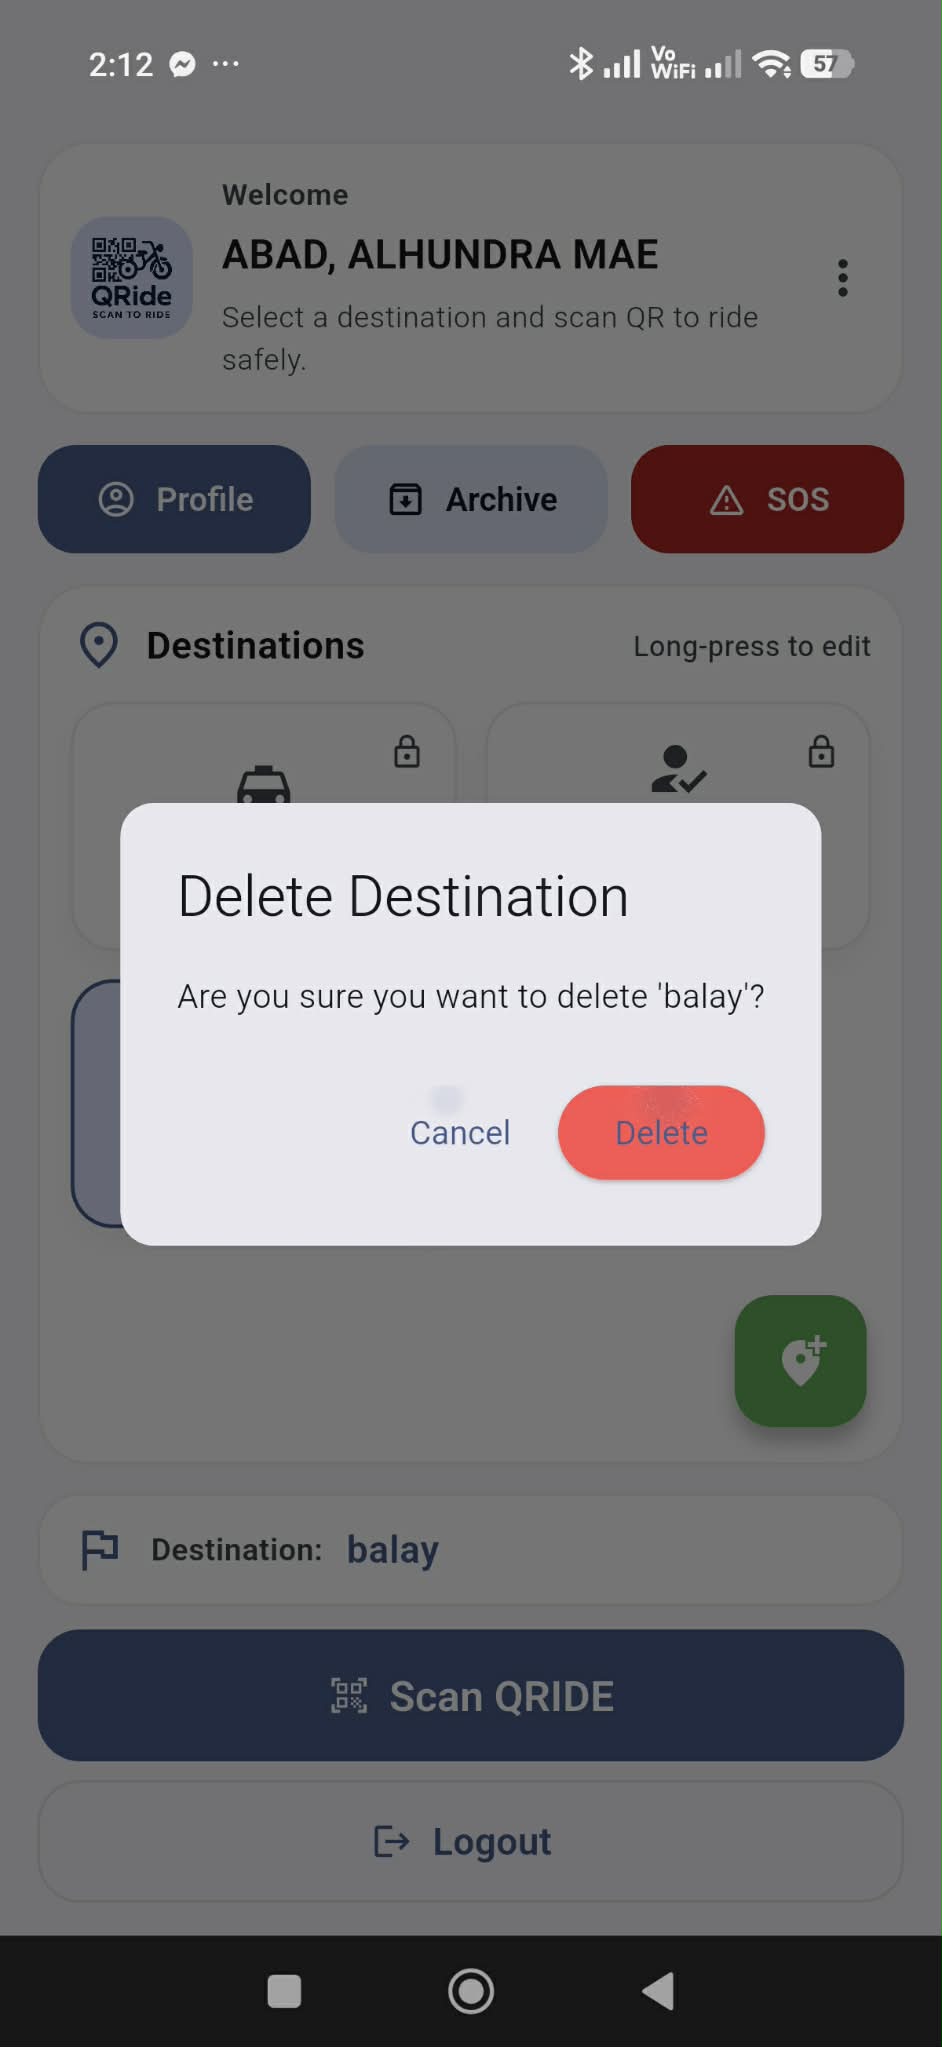
Delete confirmation dialog.
Instructions
- Long-press destination → tap Delete Destination.
- Confirm by tapping Delete.
Helpful Tip
Deleted destinations are removed immediately.
8
Set Google Map Coordinates
Step 8Pin the exact destination location (optional).
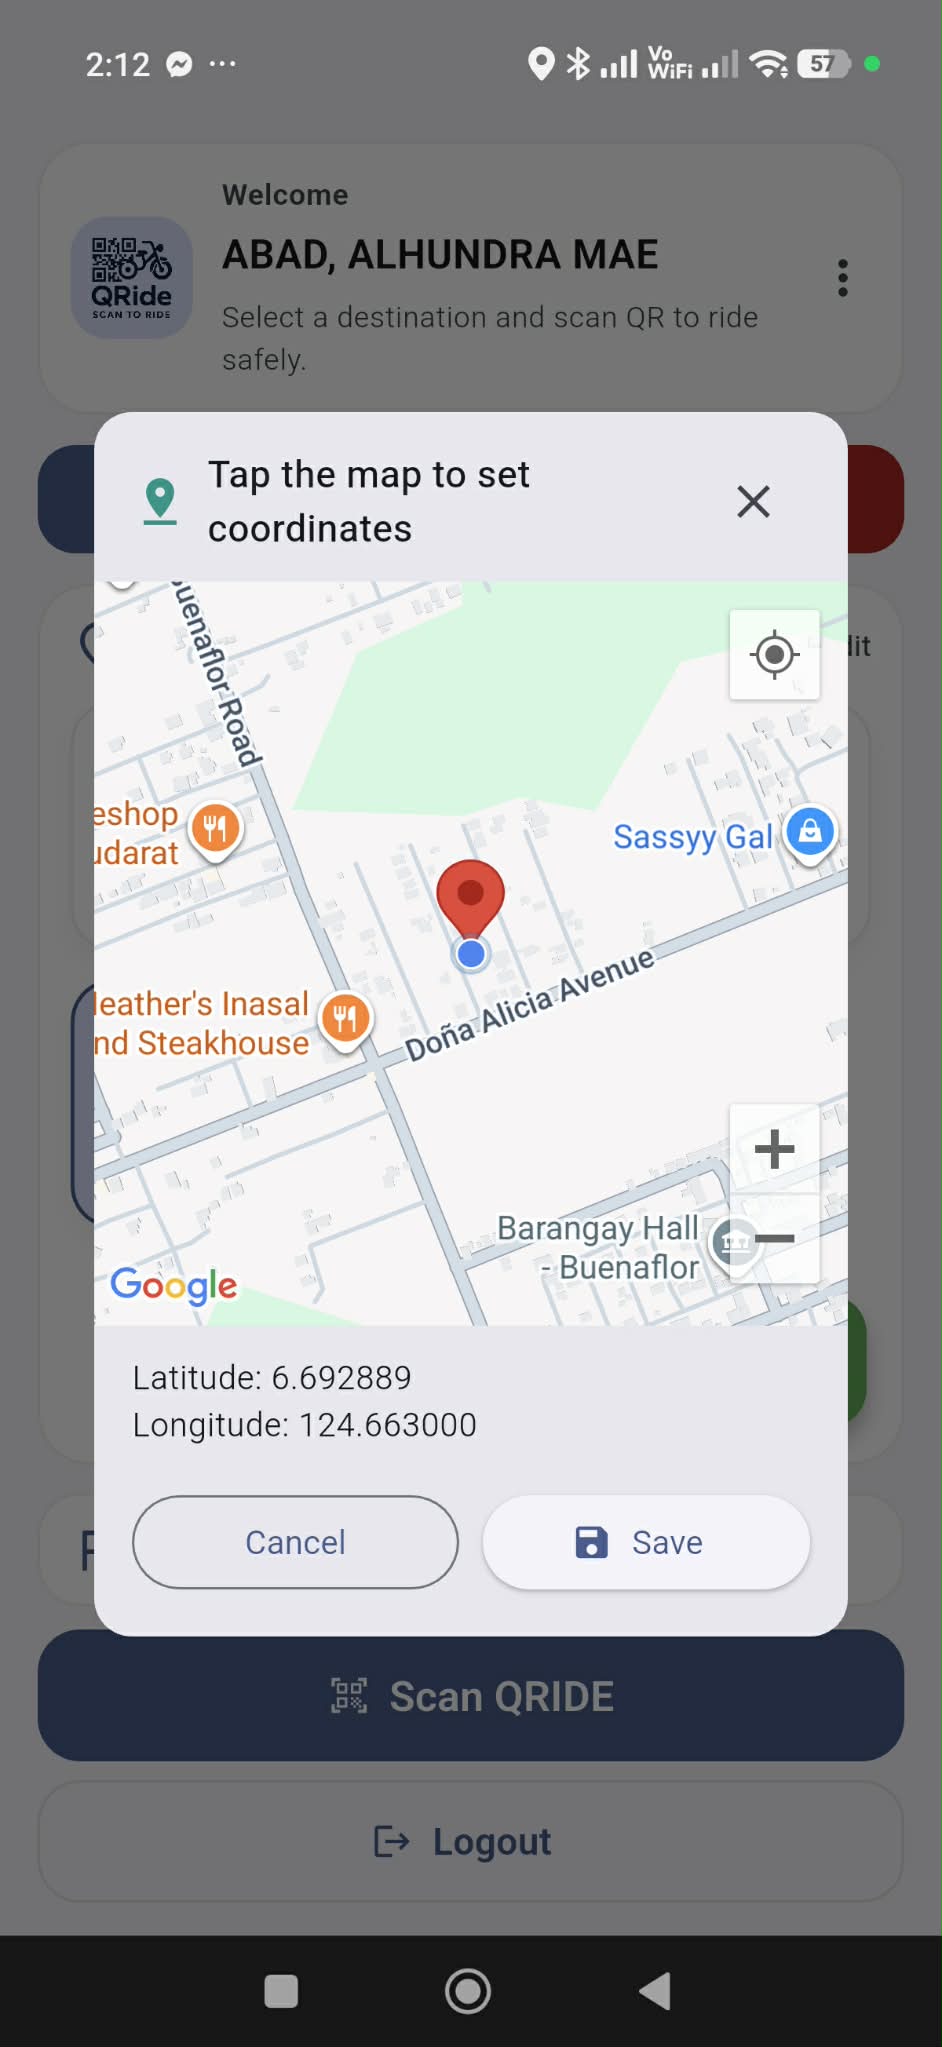
Map picker for saving Latitude/Longitude.
Instructions
- Long-press destination → tap Add Google Map Coordinates.
- Move the map/pin to the exact destination location.
- Tap Save Coordinates.
Helpful Tip
Coordinates improve location accuracy in routes and records.
9
View Routes
Step 9Open route guidance/details for the selected destination.

Home screen showing the “Routes” button.

Routes page with destination details.
Instructions
- Select a destination (tap a destination card).
- Tap the Routes button.
- Review route details for your destination.
Helpful Tip
Routes are best when destination coordinates are set.
10
Scan QR Code to Record Ride
Step 10Scan the driver QR code after selecting your destination.
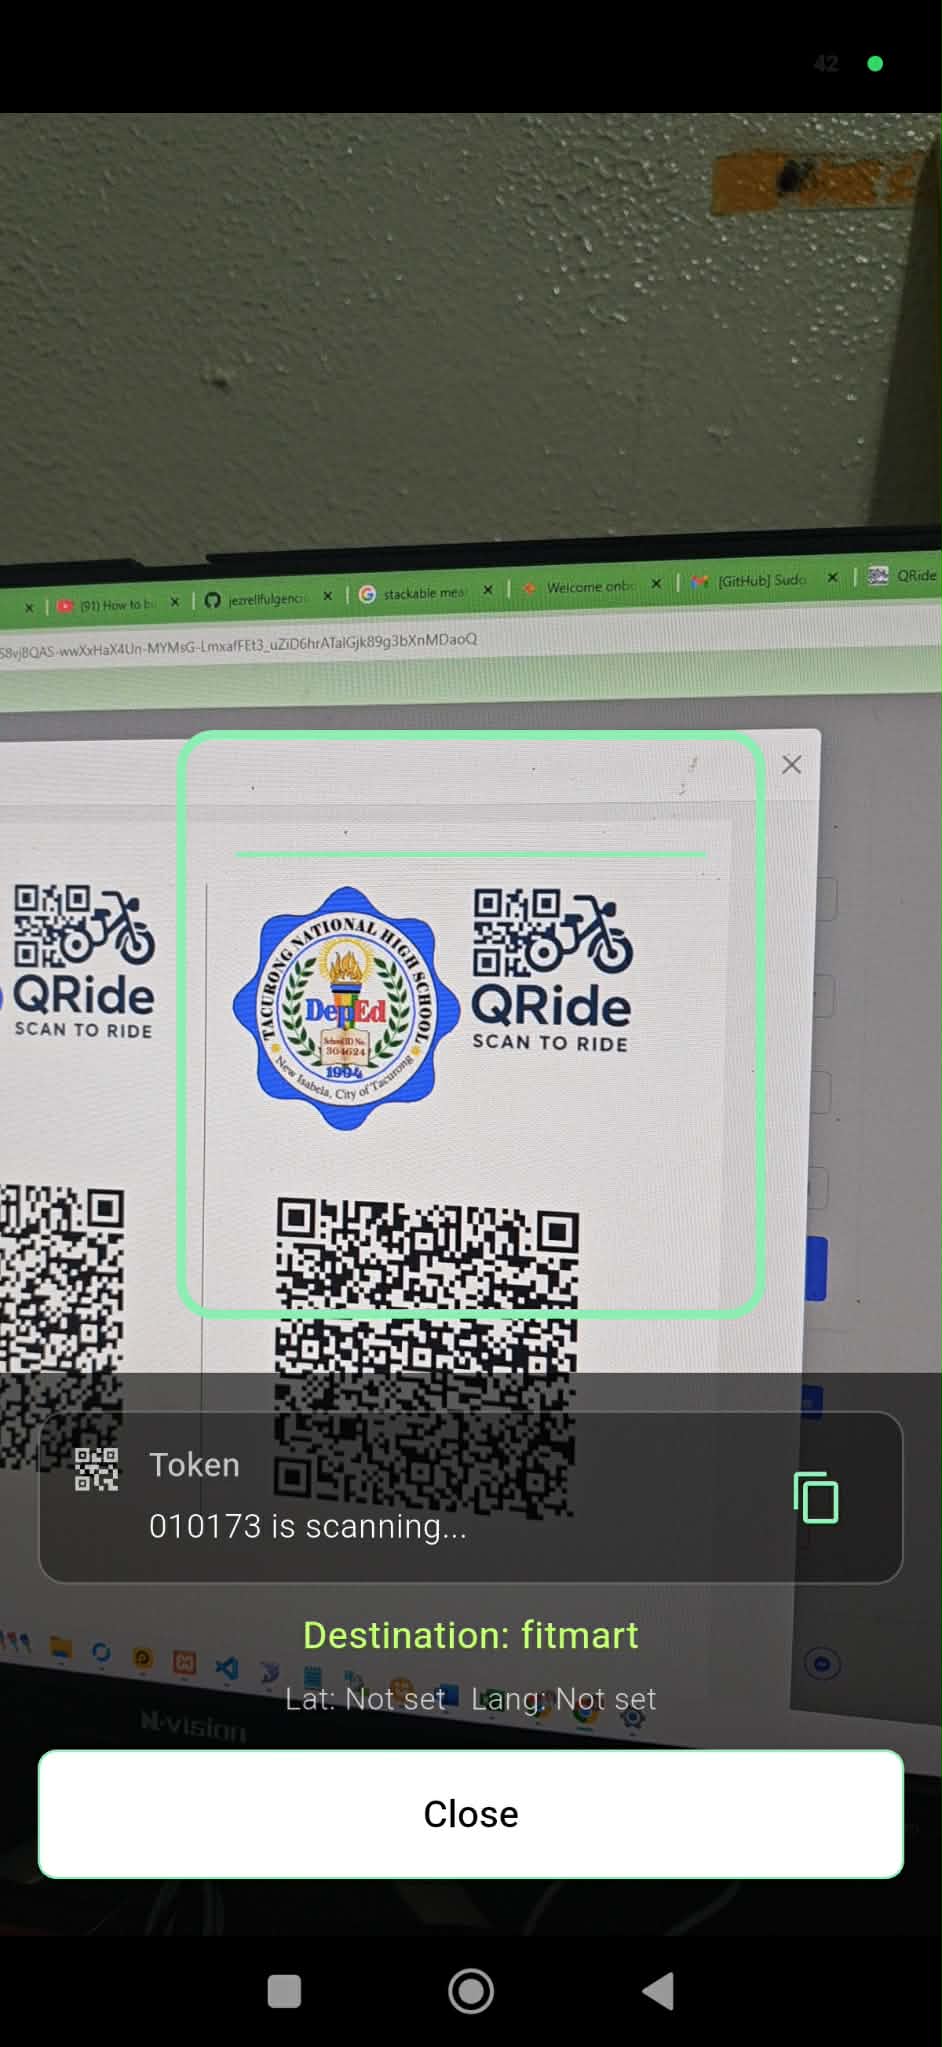
QR scanning in progress (“is scanning…”).

Scan complete (“QRIDE Successfully logged”).
Instructions
- On Home screen, make sure your Destination is selected (not “Not set”).
- Tap Scan QRIDE.
- Point the camera at the driver’s QR code.
- Wait for the Scan Complete message.
- Tap OK to close.
Helpful Tip
If scanning fails, increase brightness and ensure QR code is clear and fully visible.
11
View Archived / Offline Rides
Step 11Check ride logs, including offline records awaiting sync.
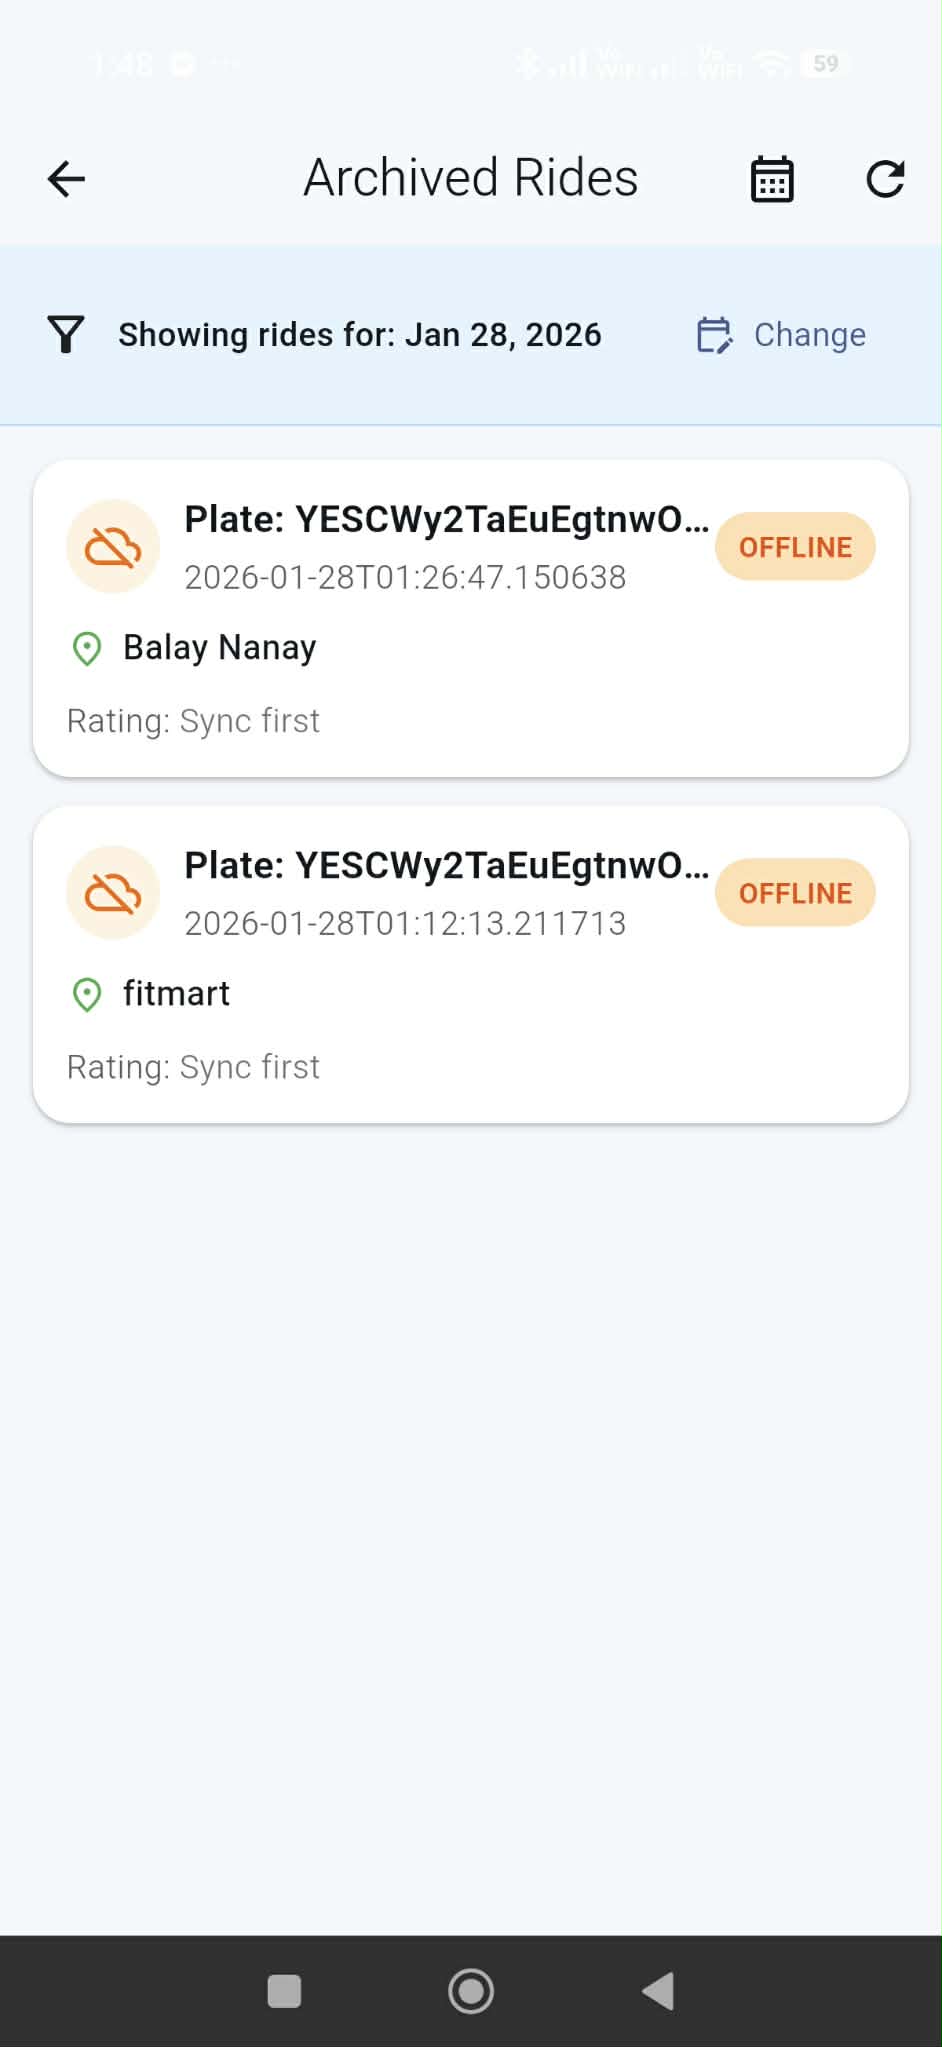
Archived rides list with date filter and OFFLINE badges.
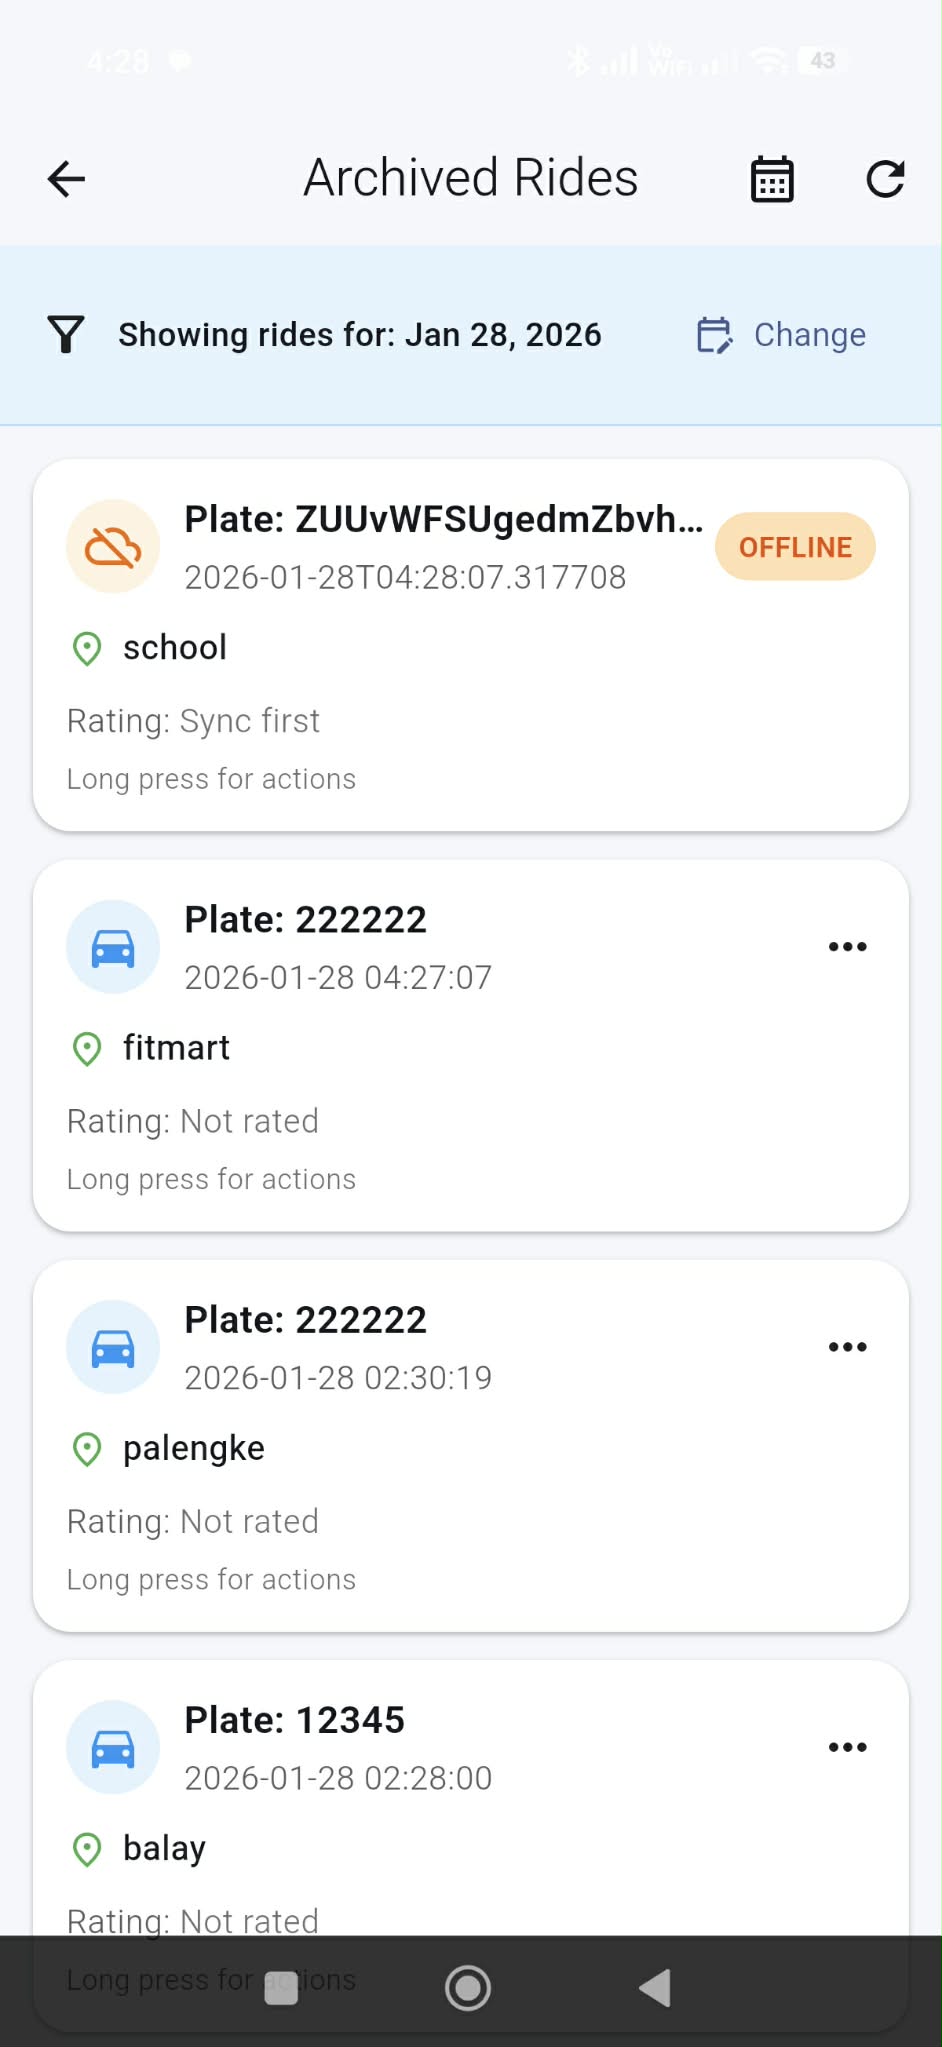
Example of OFFLINE ride needing sync (“Sync first”).
Instructions
- From Home, tap Archive.
- Use the calendar or Change to filter by date.
- Offline logs show an OFFLINE badge and may display Sync first.
- Tap the refresh icon to sync when internet is available.
Helpful Tip
Offline mode keeps records safe even without internet, then syncs later.
12
Archived Ride Actions (Details / Driver Info)
Step 12Open ride options then view driver details.
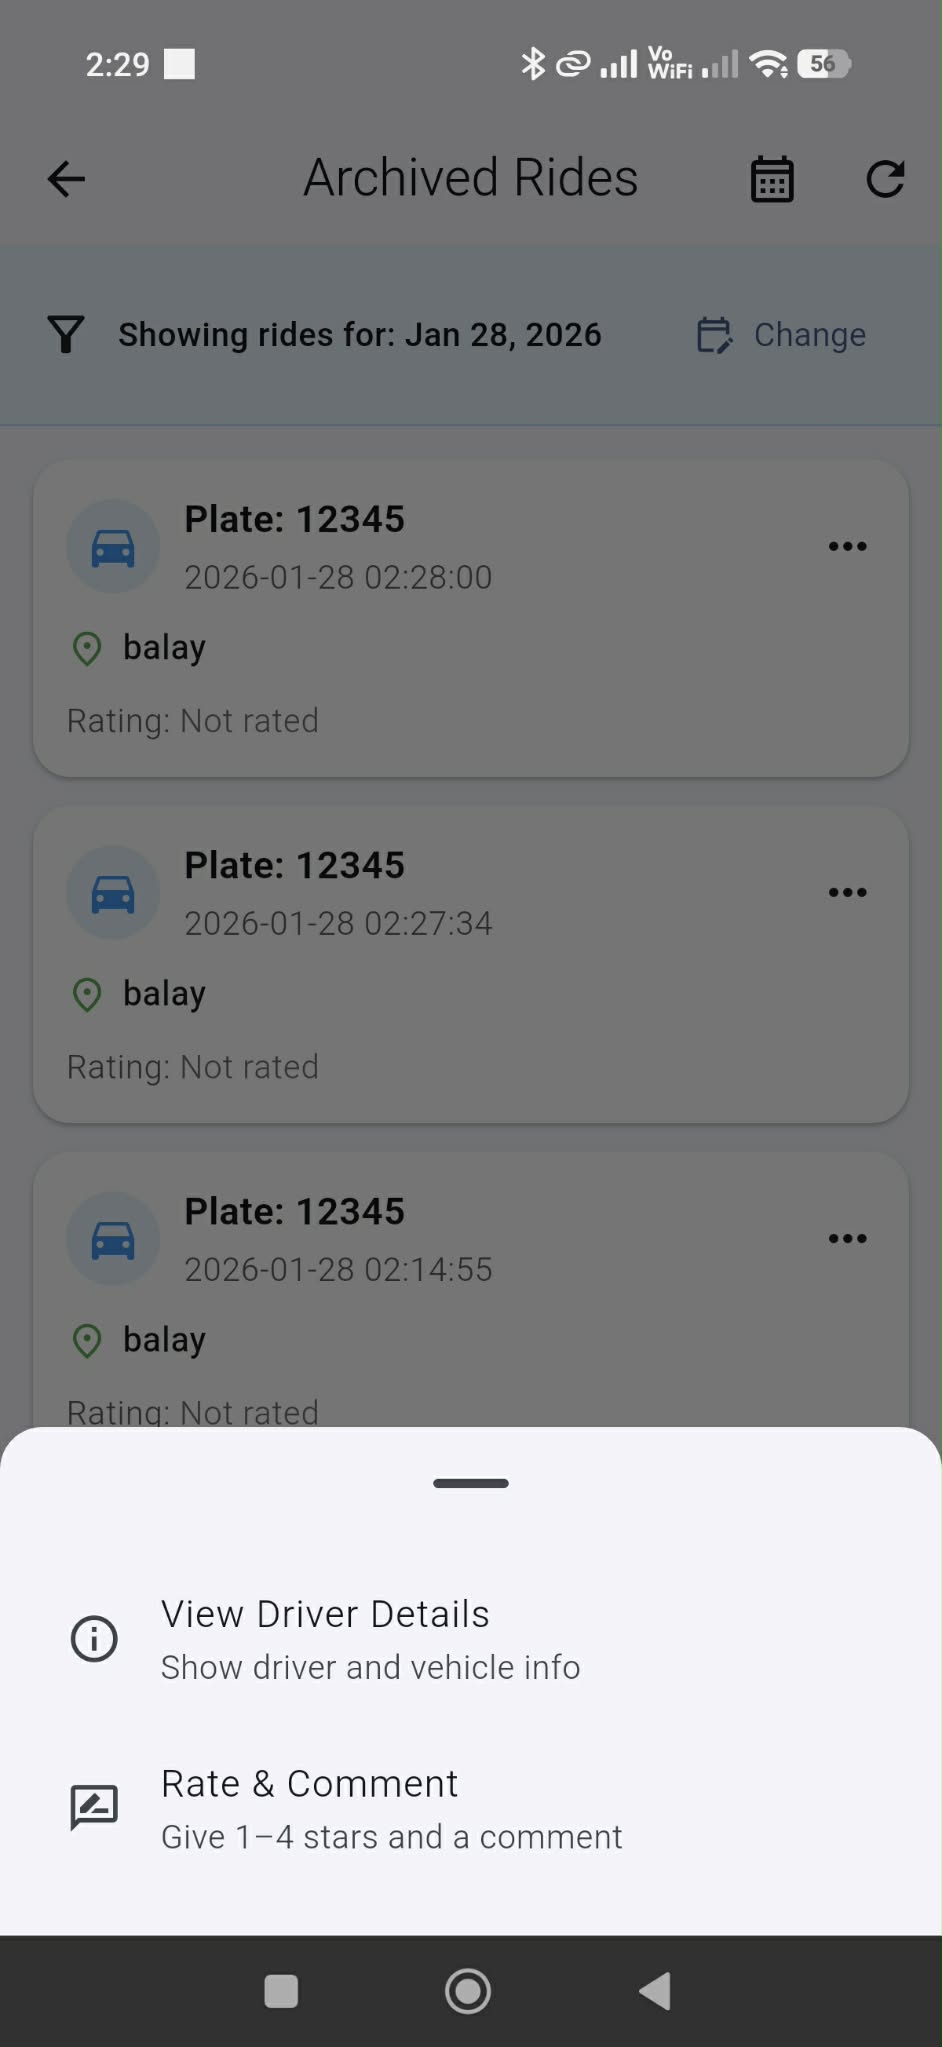
Ride action menu (Driver details / Rate & Comment).

Driver details screen with plate and contact info.
Instructions
- In Archive, tap the 3-dots or long-press a ride record.
- Select Driver Details to view driver info.
- Tap Close when done.
Helpful Tip
Some actions may require syncing first if the ride is OFFLINE.
13
Ride Ratings & Comments
Step 13Rate a ride (1–4 stars) and select a complaint/comment.
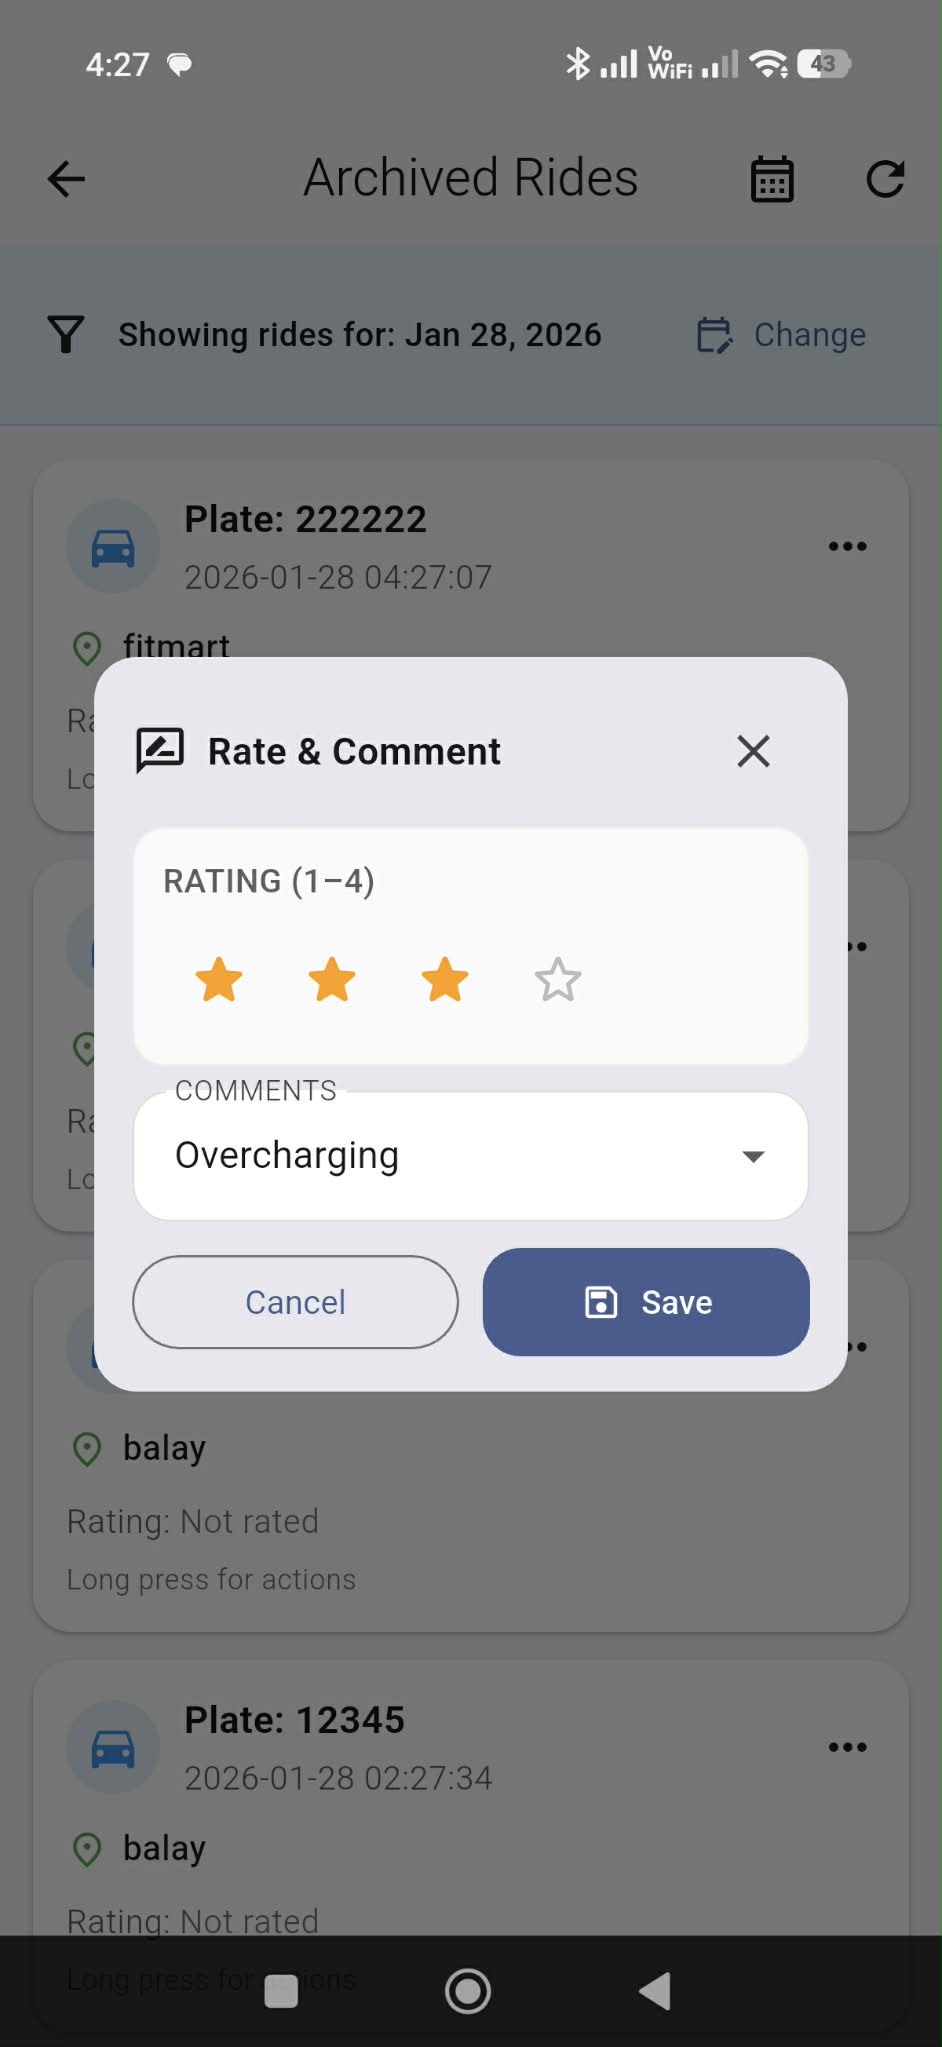
Rate & Comment dialog (stars + dropdown + Save).
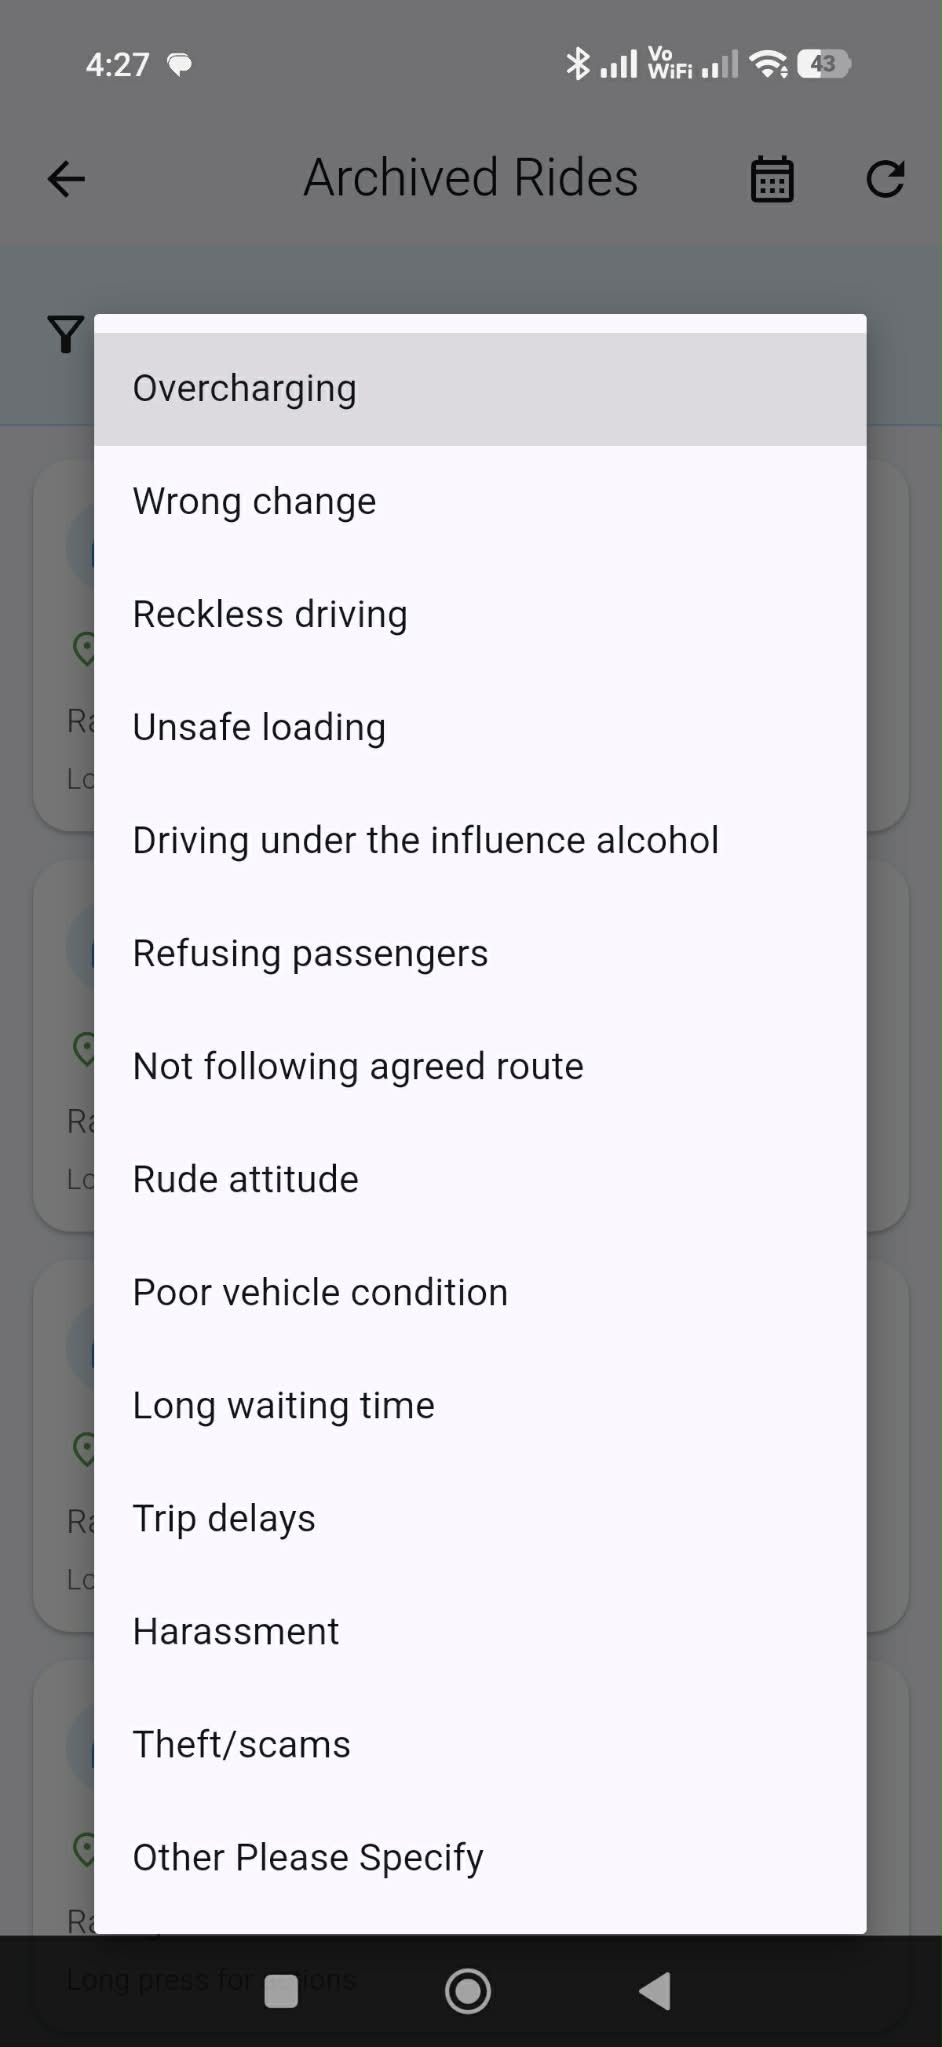
List of comment reasons (Overcharging, Wrong change, etc.).
Instructions
- Go to Archive and open a ride record options.
- Tap Rate & Comment.
- Choose a rating (1–4 stars).
- Select a comment reason from the dropdown.
- Tap Save.
Helpful Tip
If the ride is OFFLINE, sync first before rating (depending on your rules).
14
Use SOS (Emergency)
Step 14Send an emergency alert when you need help.
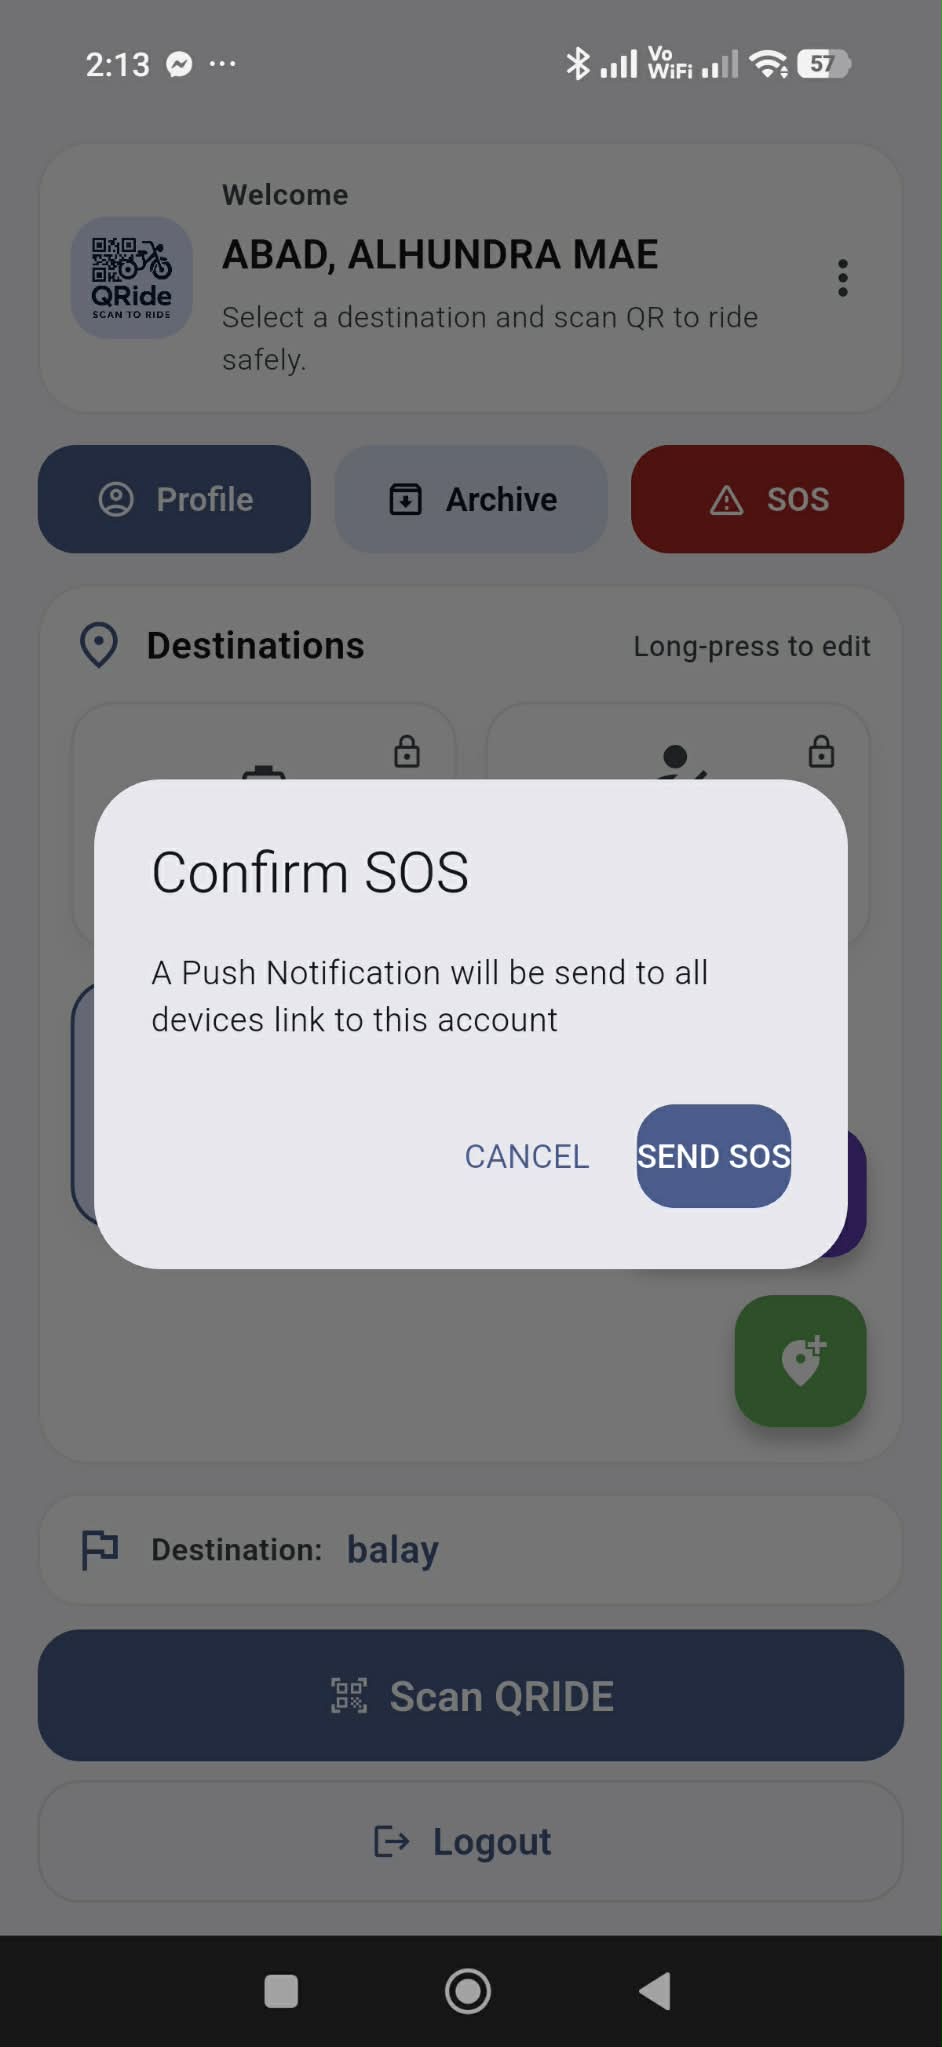
Confirm SOS dialog.
Instructions
- Tap SOS on the Home screen.
- Confirm the alert when prompted.
- Wait for the system to send the SOS notification.
Helpful Tip
Use SOS only for real emergencies. Turn on location services for better response.
15
View Profile
Step 15Check your details and account status.
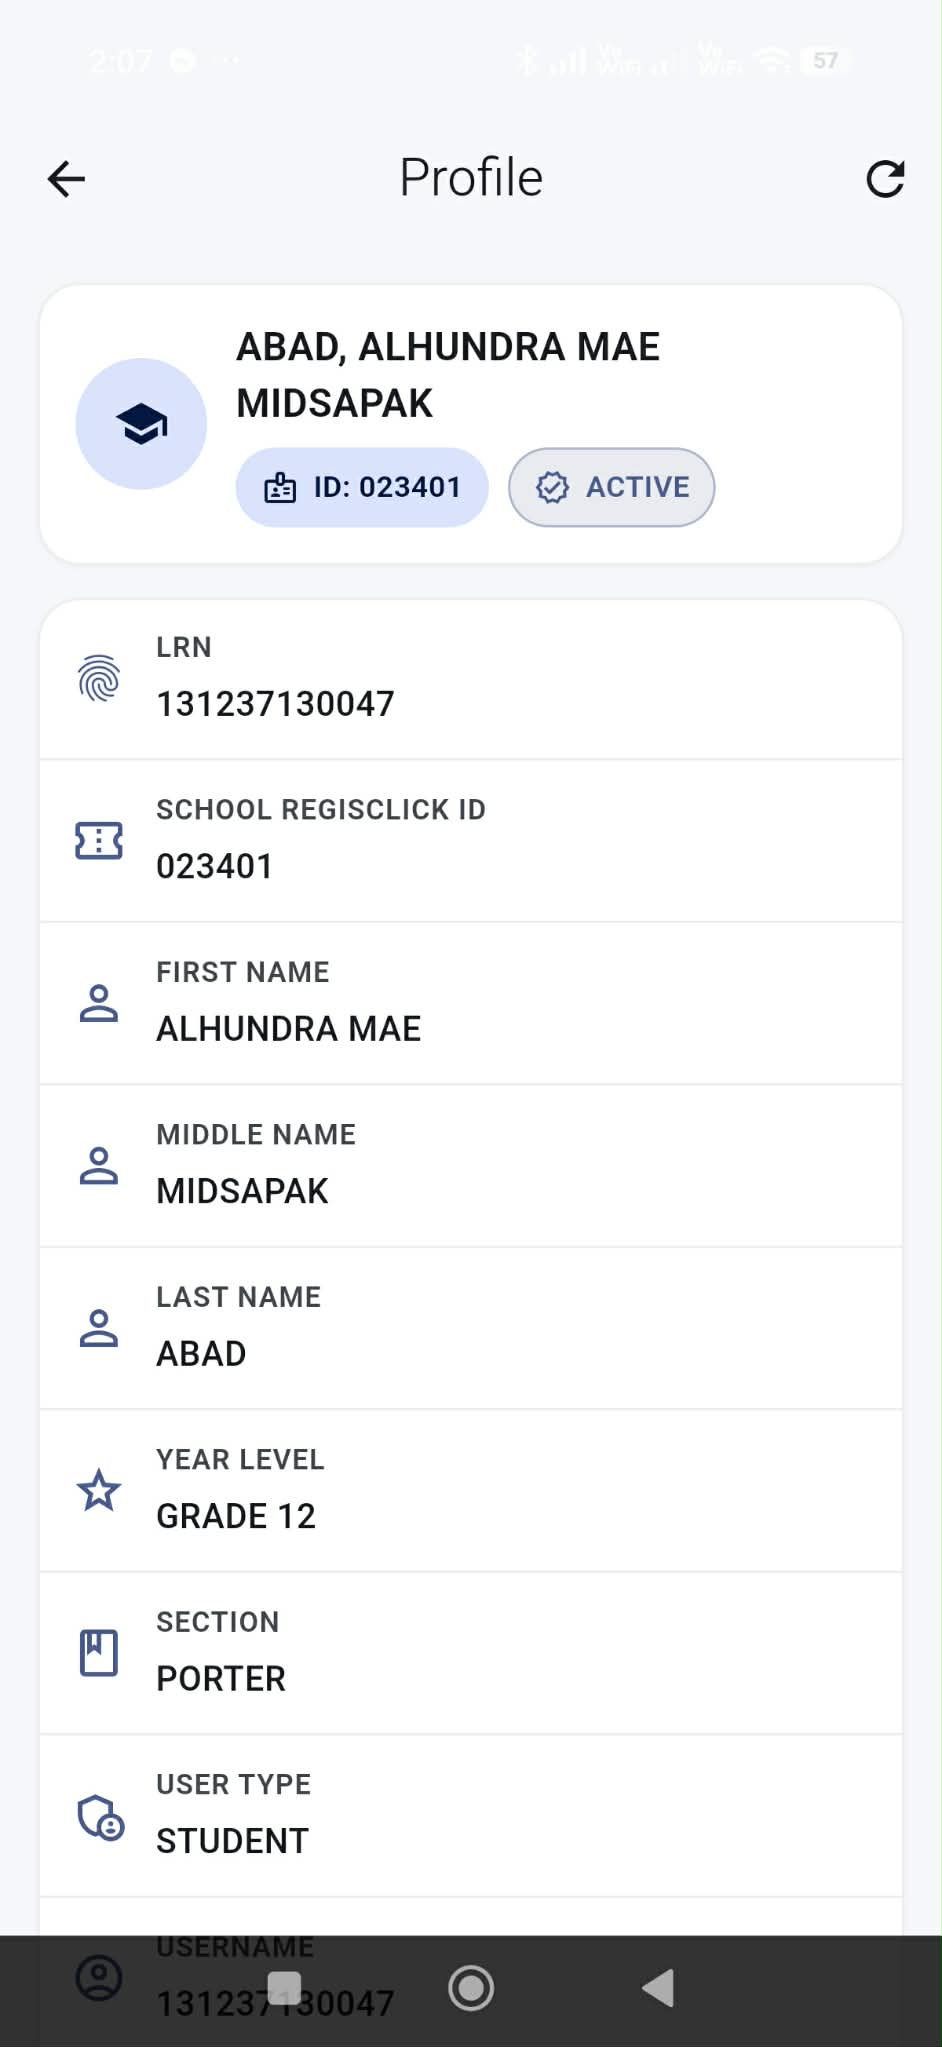
Profile page showing student details and status.

Profile section with “Password” and Update option.
Instructions
- Tap Profile from the Home screen.
- Verify your name, year level, section, and status.
- Use the refresh icon if needed to refresh data.
Helpful Tip
If details are incorrect, report to the system administrator/ICT coordinator.
16
Change Password
Step 16Secure your account by updating your password.

Update password dialog (current/new/confirm).
Instructions
- Go to Profile.
- Tap Update on the Password row.
- Enter Current Password, New Password, and Confirm Password.
- Tap Update to save.
Helpful Tip
Use a strong password (8+ characters with letters and numbers).
17
Generate Link Code (for Parents/Guardians)
Step 17Students generate a Link Code so parents can connect.
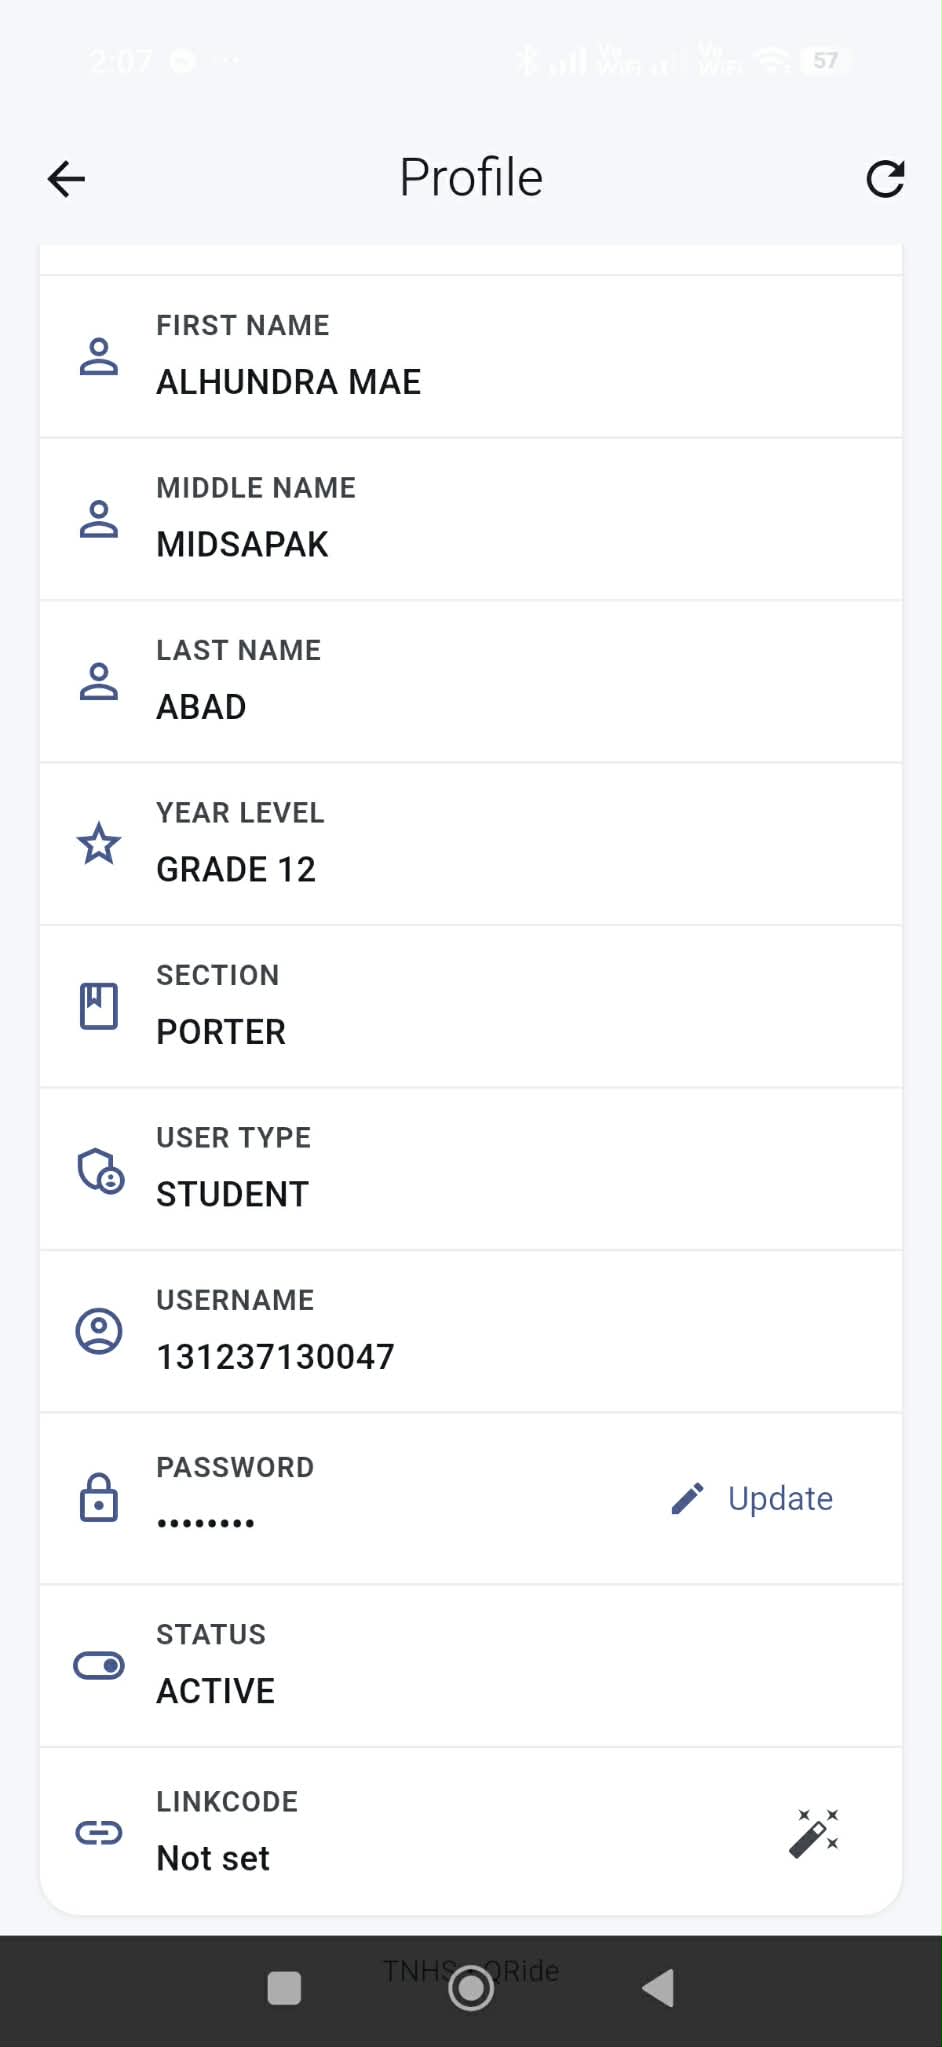
Linkcode “Not set” with generate icon.
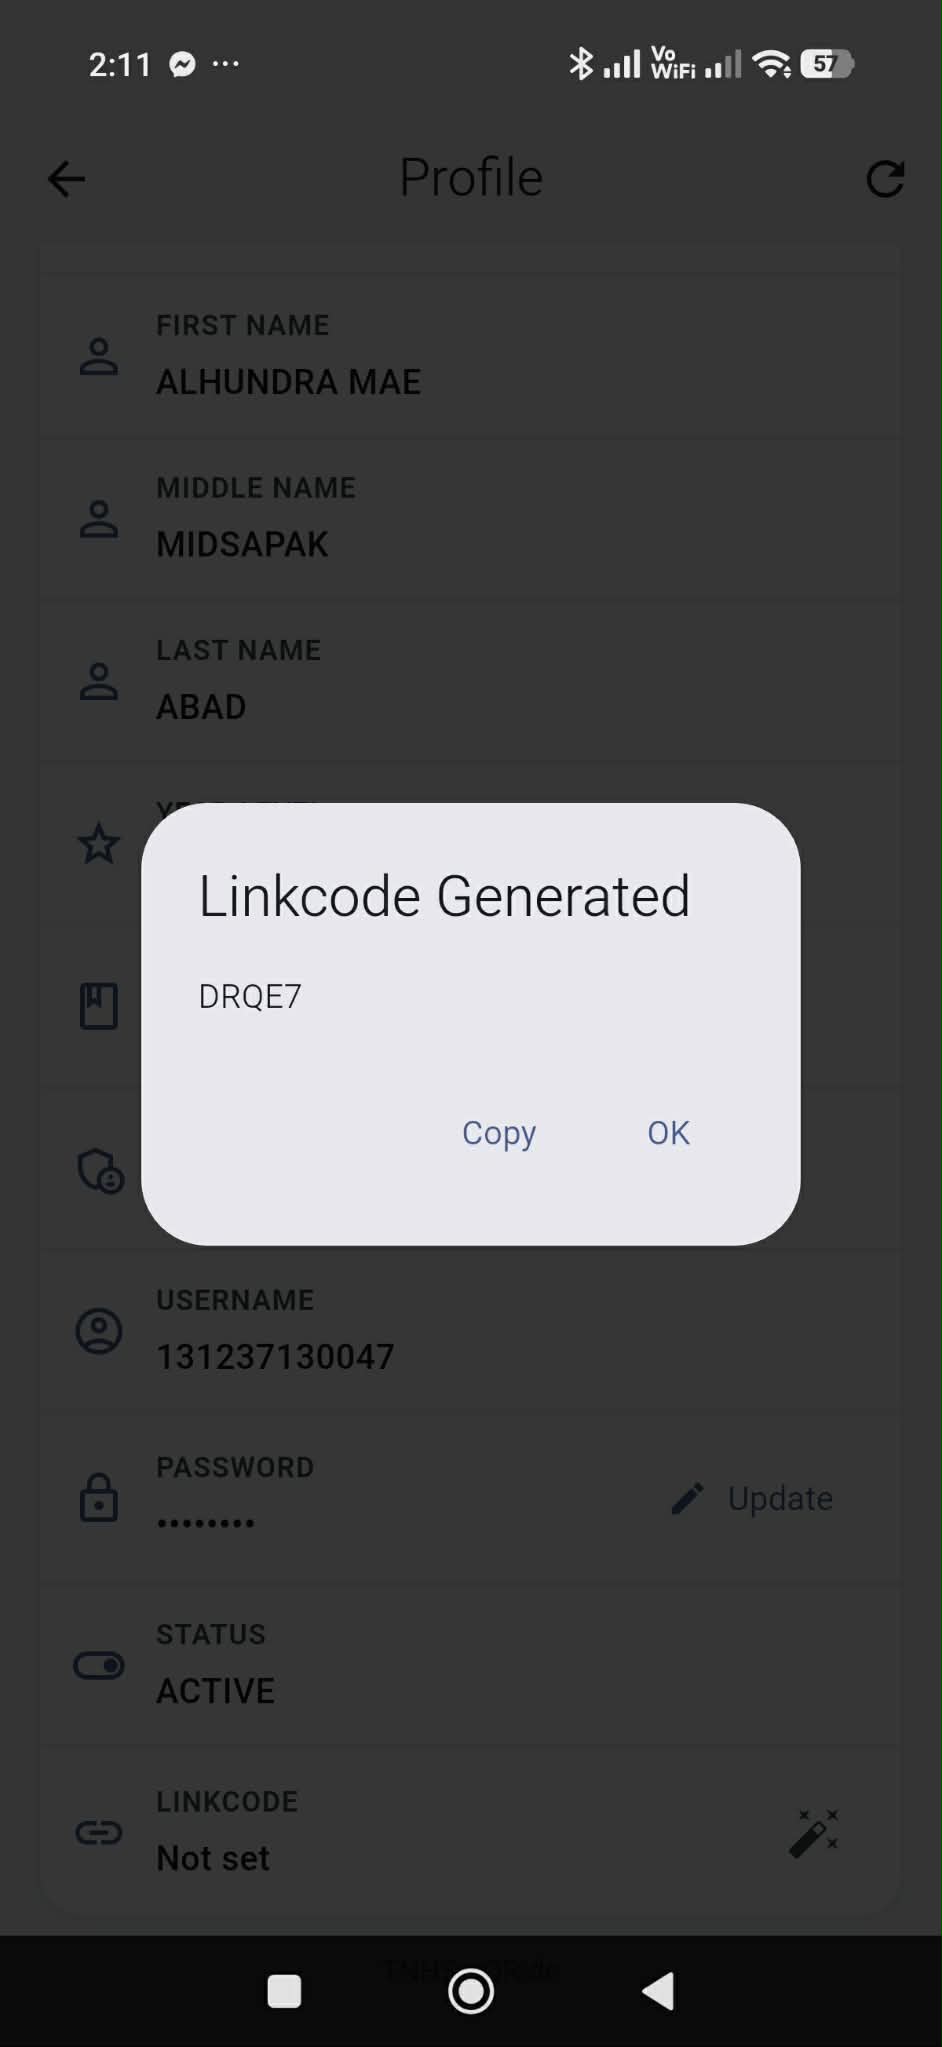
Linkcode generated dialog with Copy button.
Instructions
- Open Profile.
- Find LINKCODE → tap the generate icon.
- Tap Copy when the code appears.
- Send the code to your parent/guardian.
Helpful Tip
Treat the Link Code like a password—share only with trusted guardians.
18
Parent/Guardian: Connect using Link Code
Step 18Parents use Link Code to connect and monitor ride logs.
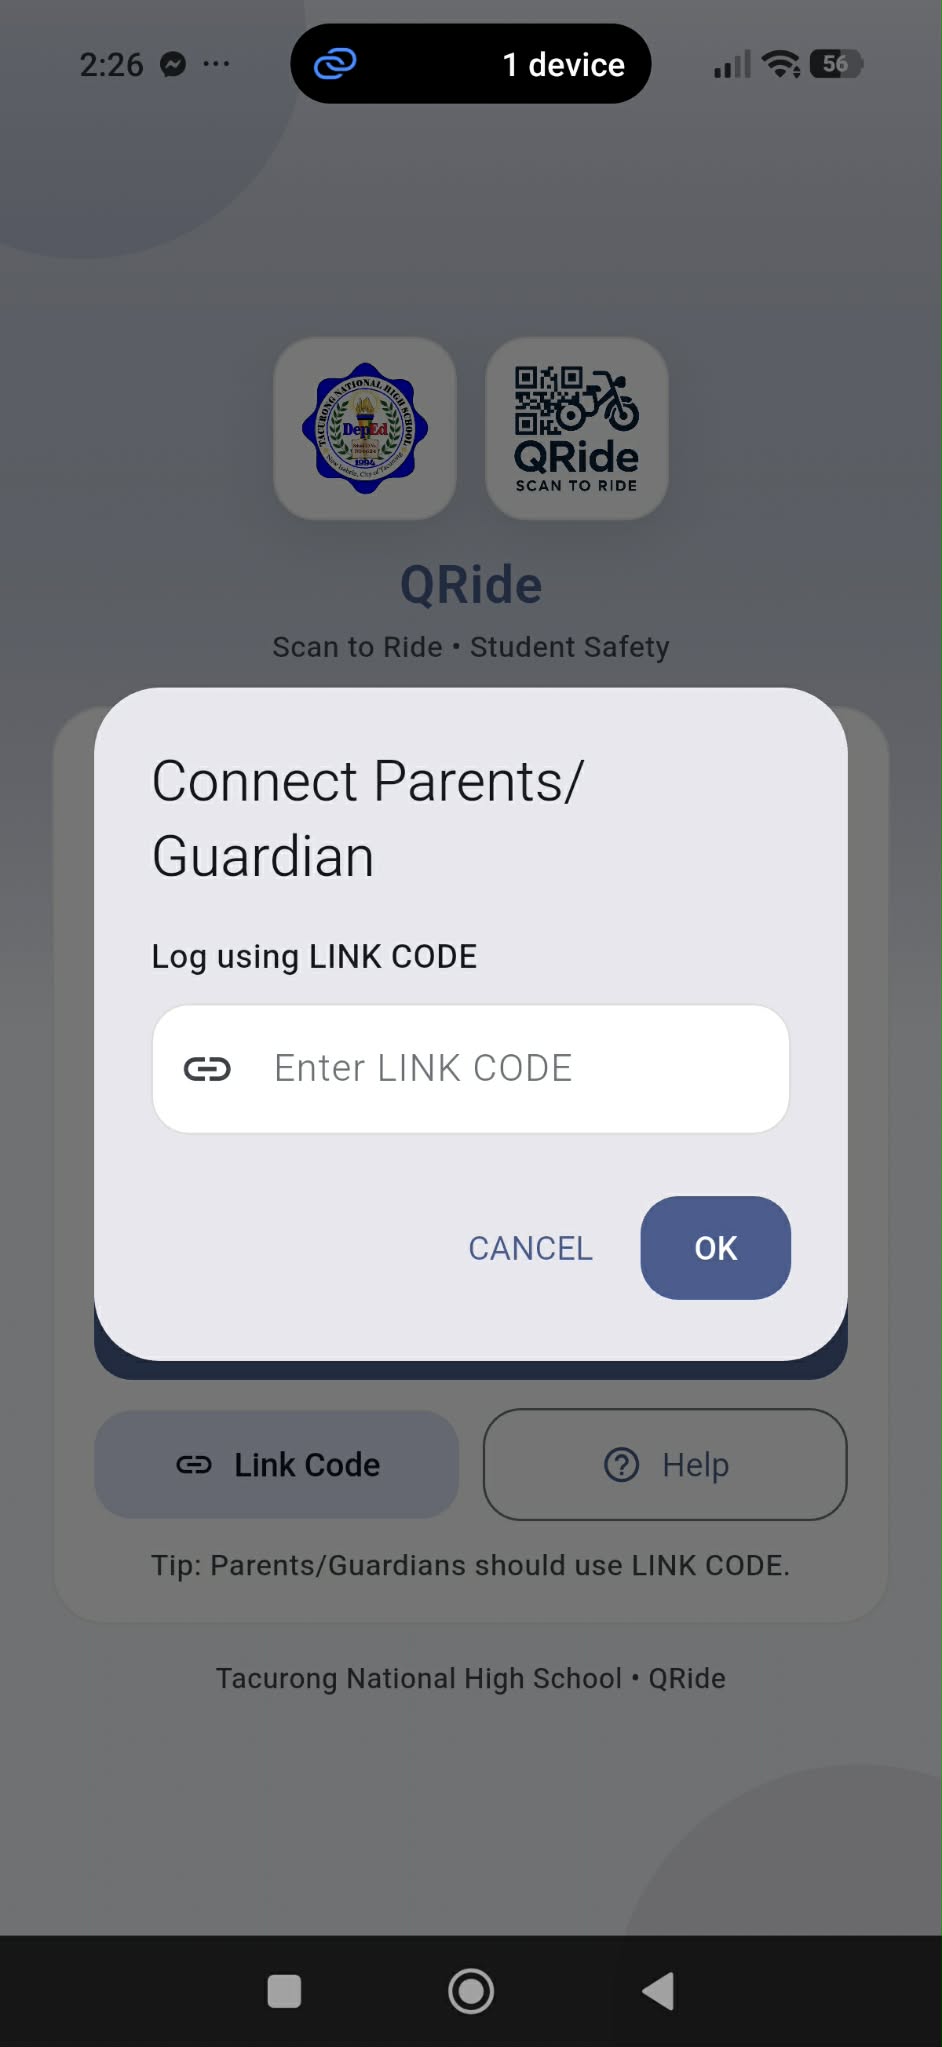
Link Code screen for parents/guardians (enter code then Connect).
Instructions
- Open the QRide app on the parent/guardian phone.
- On Login screen, tap Link Code.
- Paste/enter the provided Link Code.
- Tap Connect to link the account.
Helpful Tip
If it fails, re-check the code or generate a new Link Code from the student profile.
19
Parent/Guardian: Linked Student Screen
Step 19View the linked student details, SOS card, and ride logs.
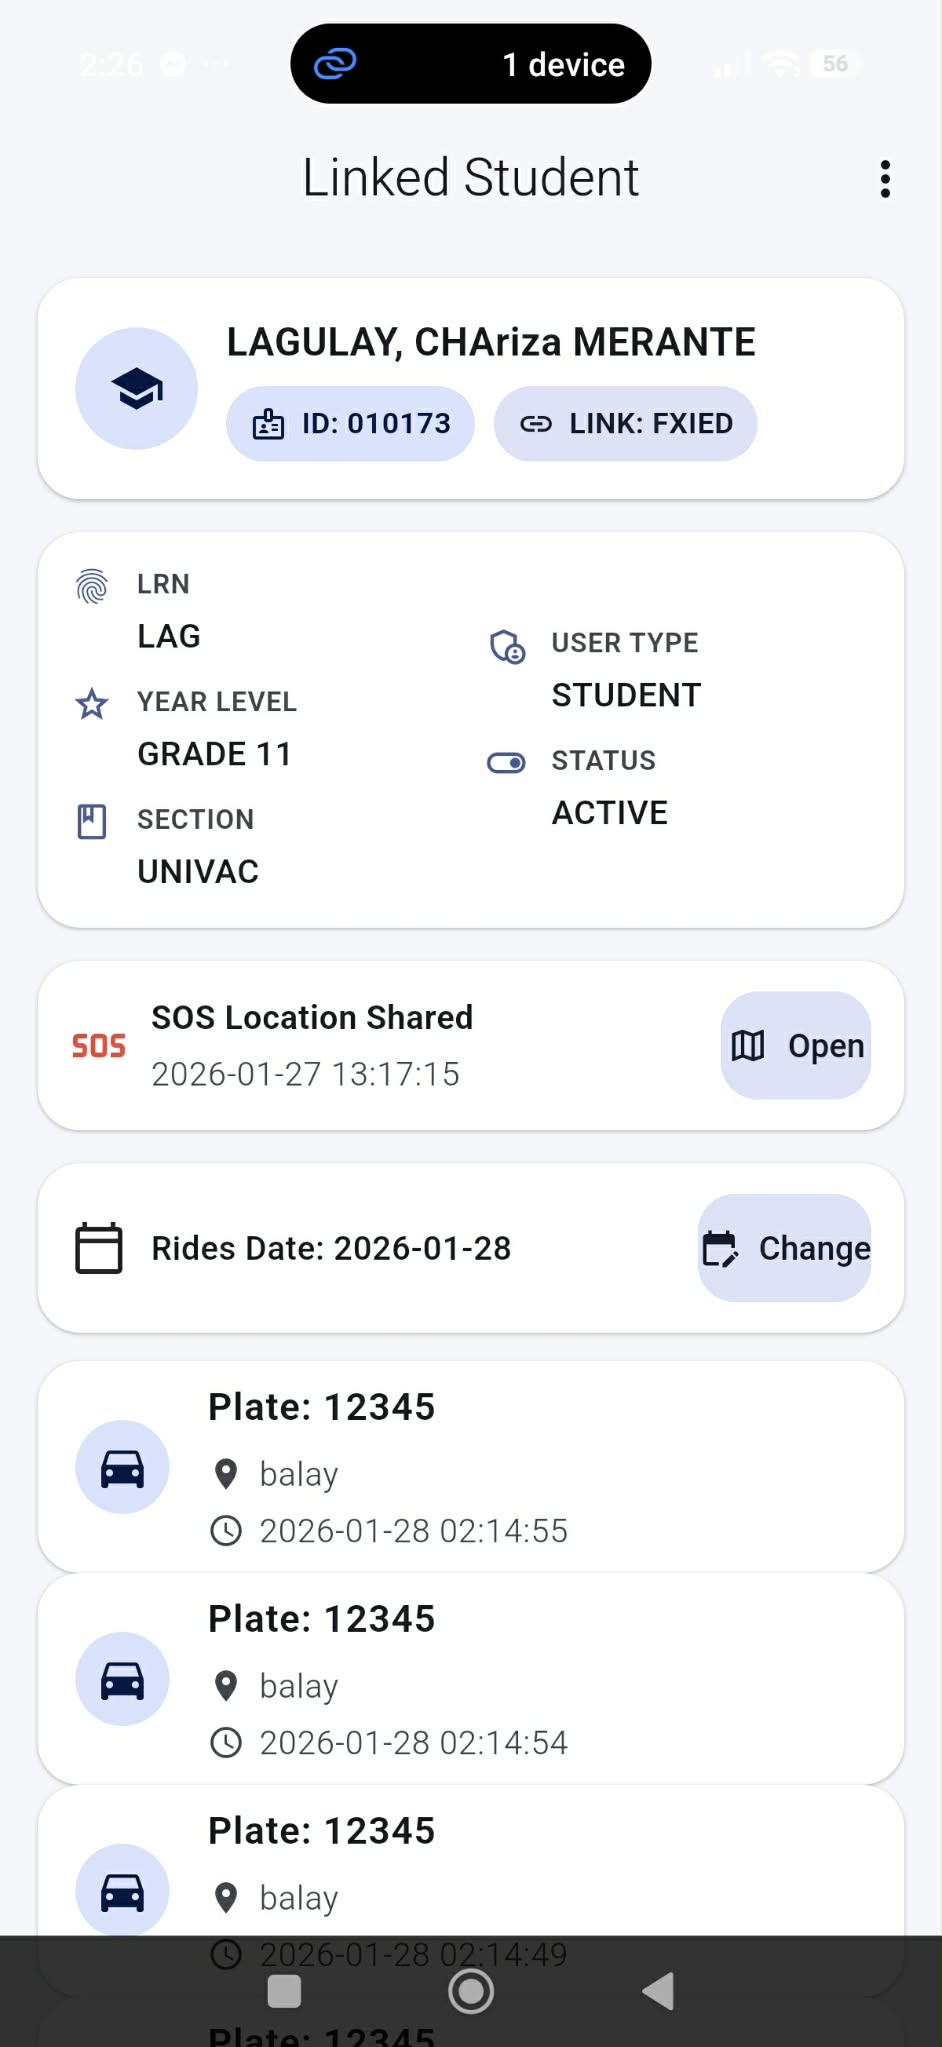
Linked Student screen with profile + ride list + date filter.
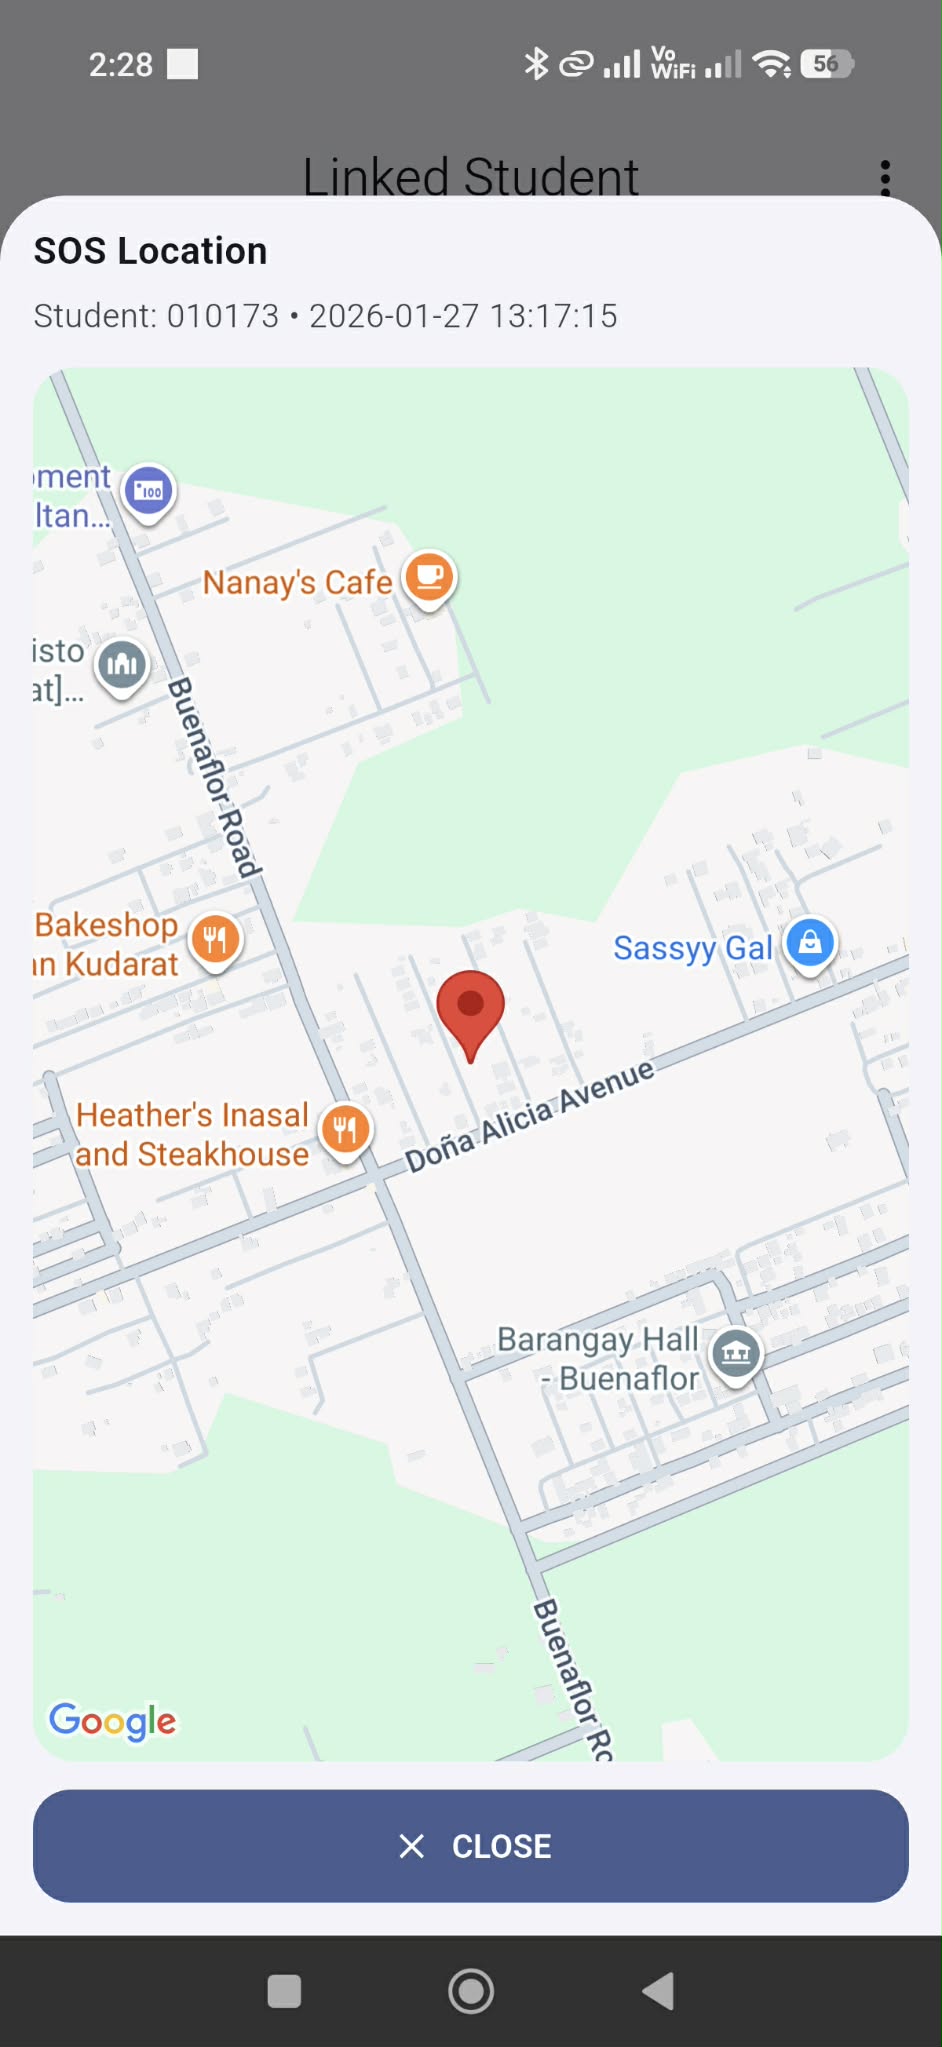
SOS Location map preview with pin and Close button.
Instructions
- After linking, you will see the Linked Student page.
- Use Rides Date → Change to filter ride logs by date.
- If there is an SOS record, tap Open to view the location map.
- Tap Close to exit the SOS map preview.
Helpful Tip
Parents can monitor rides and respond quickly during SOS events.
20
Parents & Guardian Push Notifications
Step 20Parents receive alerts for SOS and ride activity.

SOS push notification received by parent/guardian.
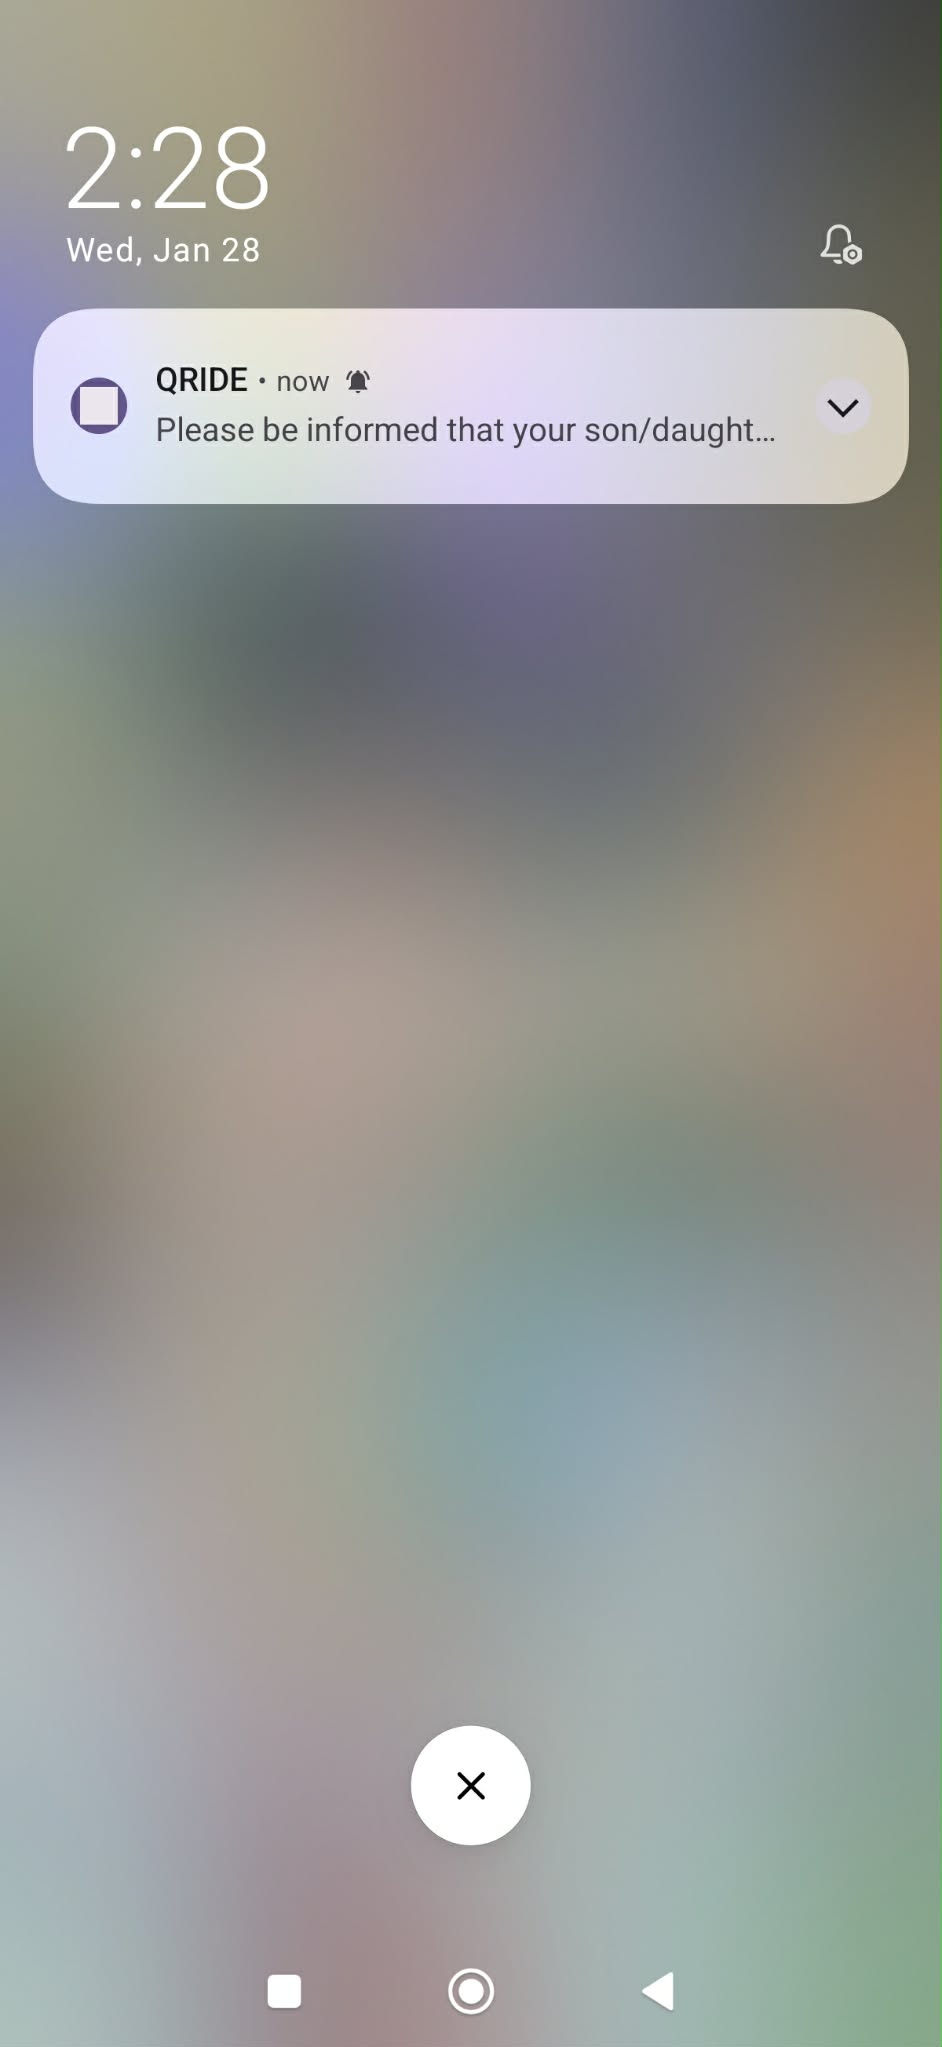
Ride log push notification (“Please be informed…”).
Instructions
- Ensure QRide notifications are enabled in phone settings.
- Parents will receive SOS alerts immediately when triggered.
- Parents may also receive ride activity notifications after scanning.
Helpful Tip
If notifications don’t arrive, check battery optimization and allow QRide to run in the background.